When it comes to crafting, sometimes it can be a little difficult and stressful, and sometimes it can be so easy that a hungover stupid version of yourself could do it. This one TOTALLY falls into the latter category.
One of the first things I learned about Greg (other than when he was 7 or 8 he met George Clooney – “Are the buggin’ ya!”) is that he is VERY connected to his home roots in Cincinnati. Not just Cincinnati but all things connected to it. The Reds, the Bengals (Who Dey!), and most importantly, Skyline Chili. Skyline Chili – which automatically gives you the poops but they just keep coming back. Skyline Chili – which fills the air with scent of B.O and 3 way. Skyline Chili – I honestly don’t get it. But do you know what I DO get? What I love and look forward to in the care packages Greg’s Mom sends? Skyline Chili hot sauce - the most delicious and purest of hot sauce! Red tabasco peppers, cayenne peppers, distilled vinegar, and some random chemical sounding ingredients.
To make Greg Skyline Chili from scratch would have been expensive and time consuming, but hot sauce – hot sauce I could do! Until I realized that Fresh Direct didn’t have the peppers I needed. So see below for a different kind of hot sauce. One made with love and too much alcohol from the night before.
Ingredients (or more like a loose list of stuff – feel free to experiment!)
- 20-ish Thai Chili Peppers
- 4-5 Habanero Peppers
- 3-4 Jalapeno Peppers
- 1 Onion
- 4 cloves of garlic
- 2 cups water
- 1-2 cups distilled white vinegar
- 1 teaspoon cayenne powder
- 1 teaspoon ancho chili powder
- 1 tablespoon honey (optional - also optional is to use spicy honey)
- S&P
- rubber gloves (optional)
- face mask (NOT AT ALL OPTIONAL)
Instructions
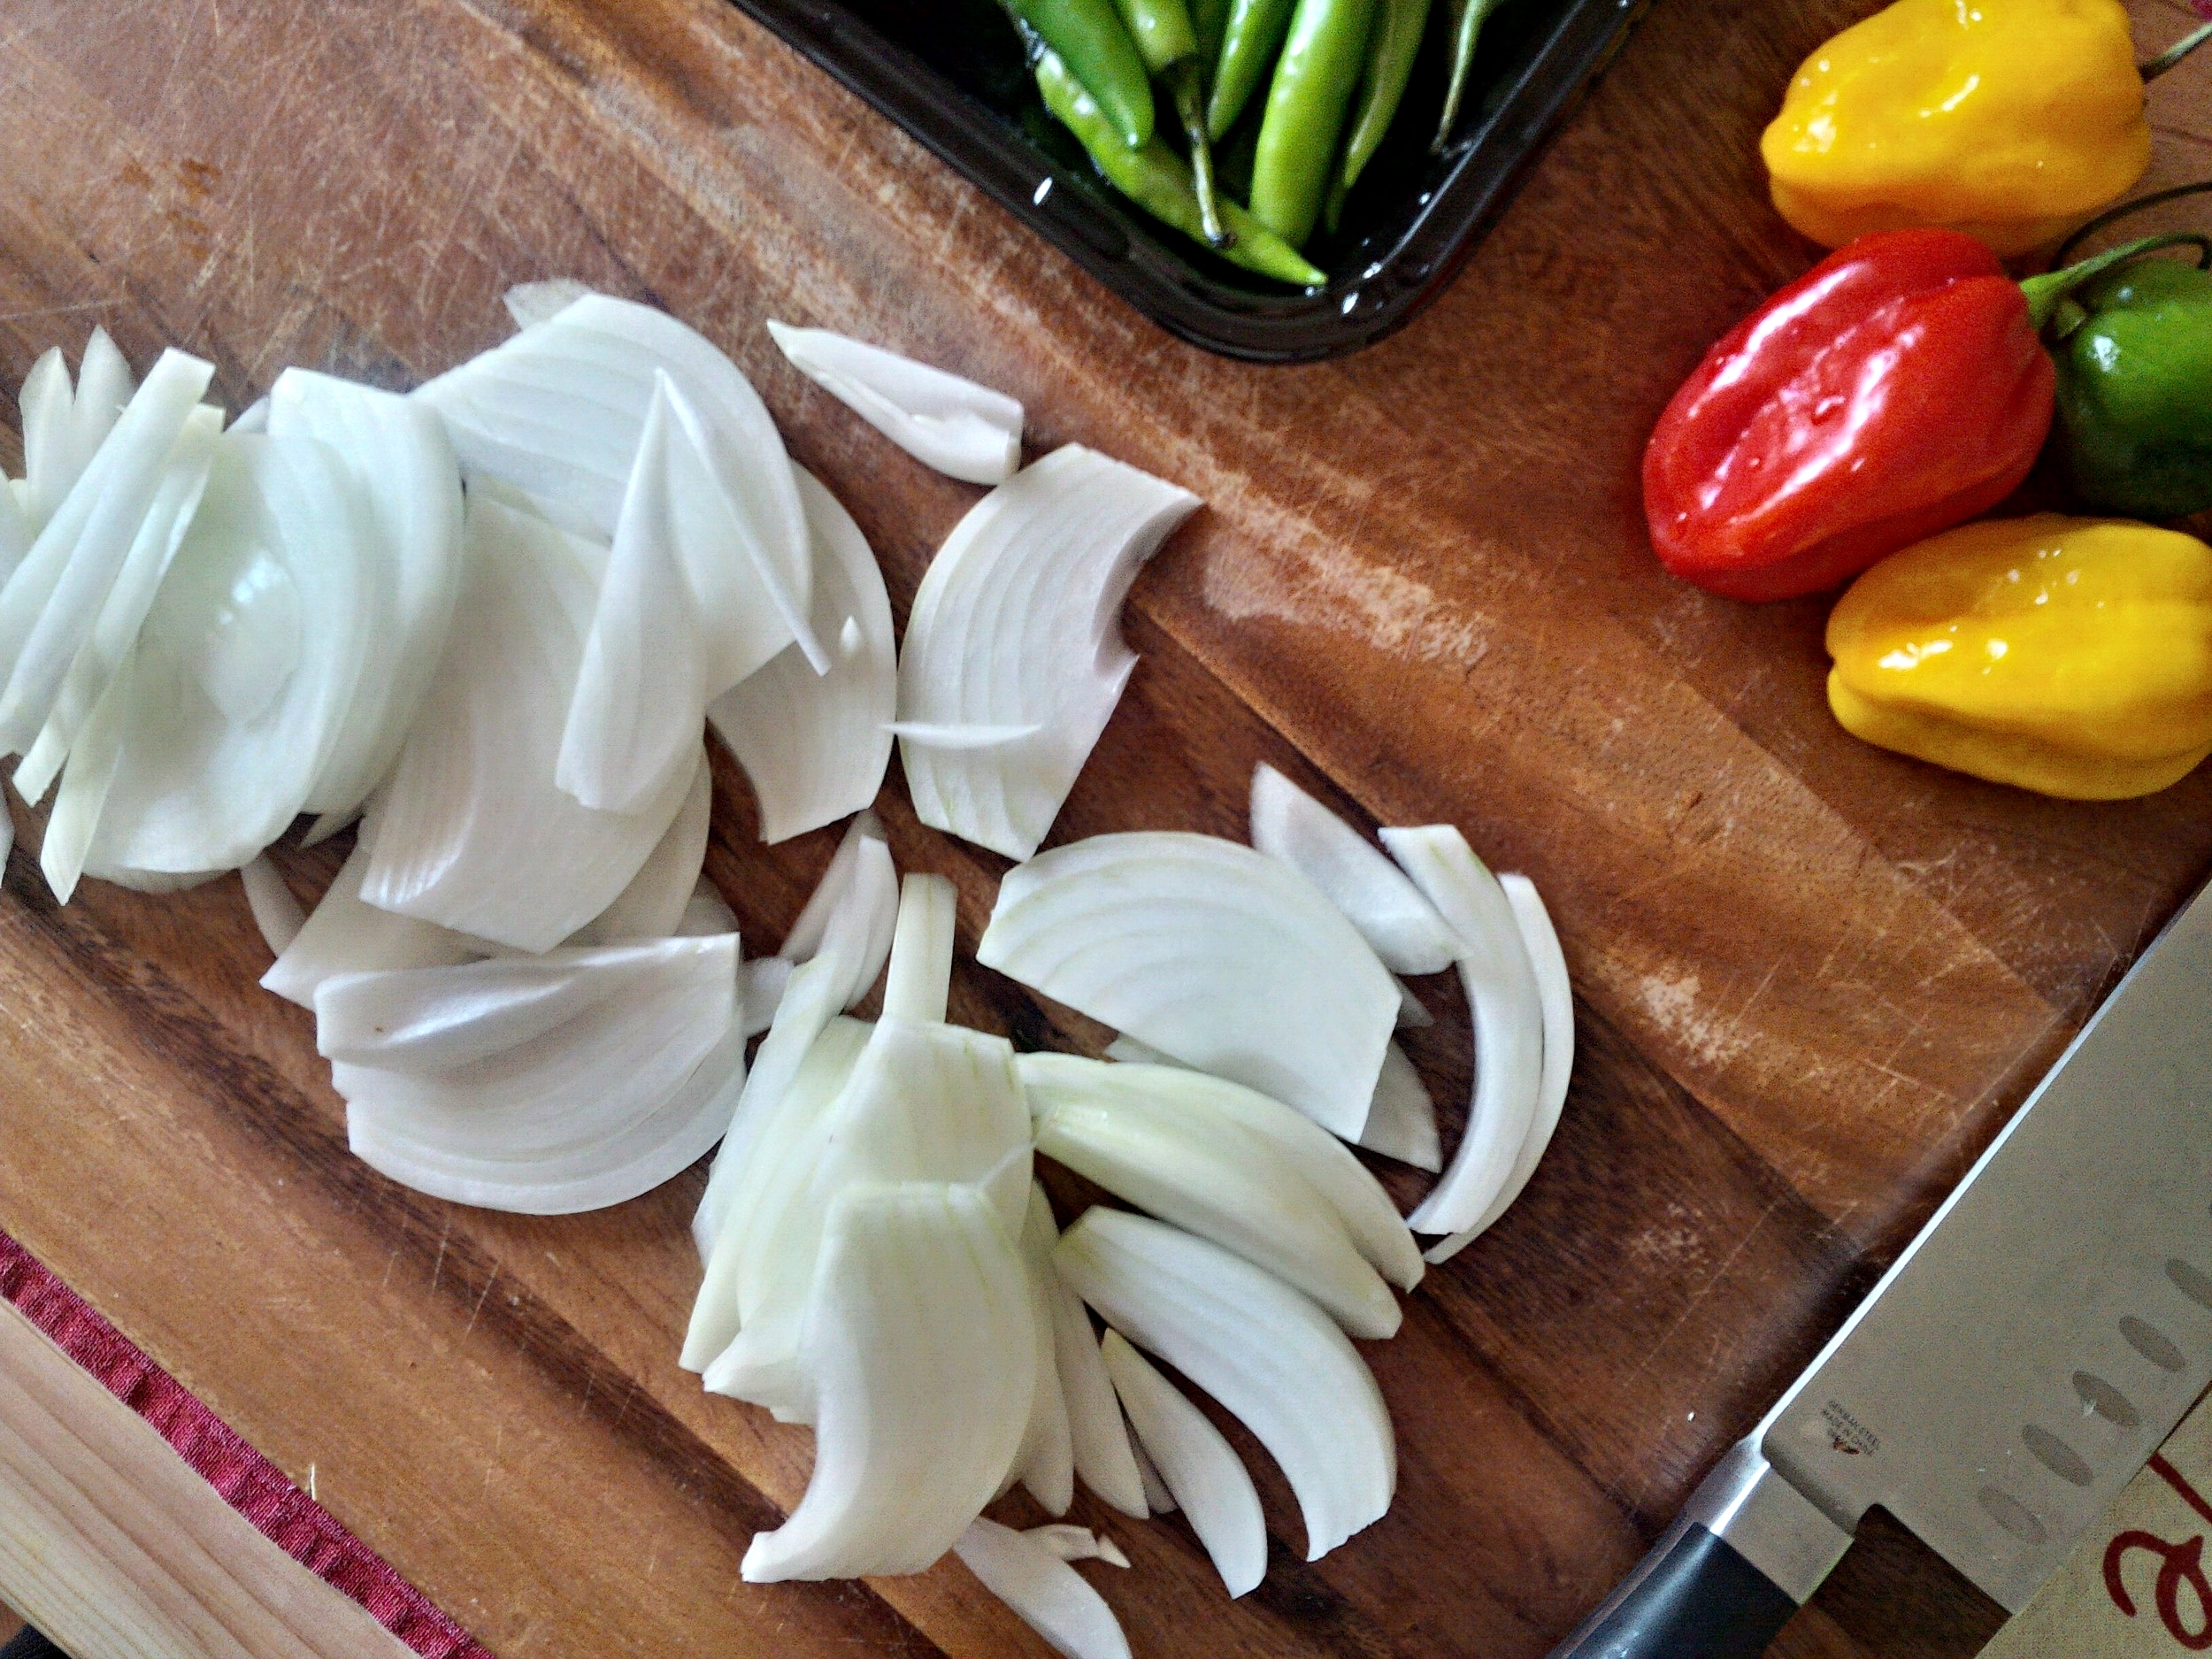
1. Clean and chop
Roughly chop all of your peppers, onions, and garlic. It is ok to be a little lazy here because it is all going into the food processor anyway. I would highly recommend wearing sanitize gloves during this process - shit gets SPICY

I love pain
quick and easy

jalapeno? jalapenyes!
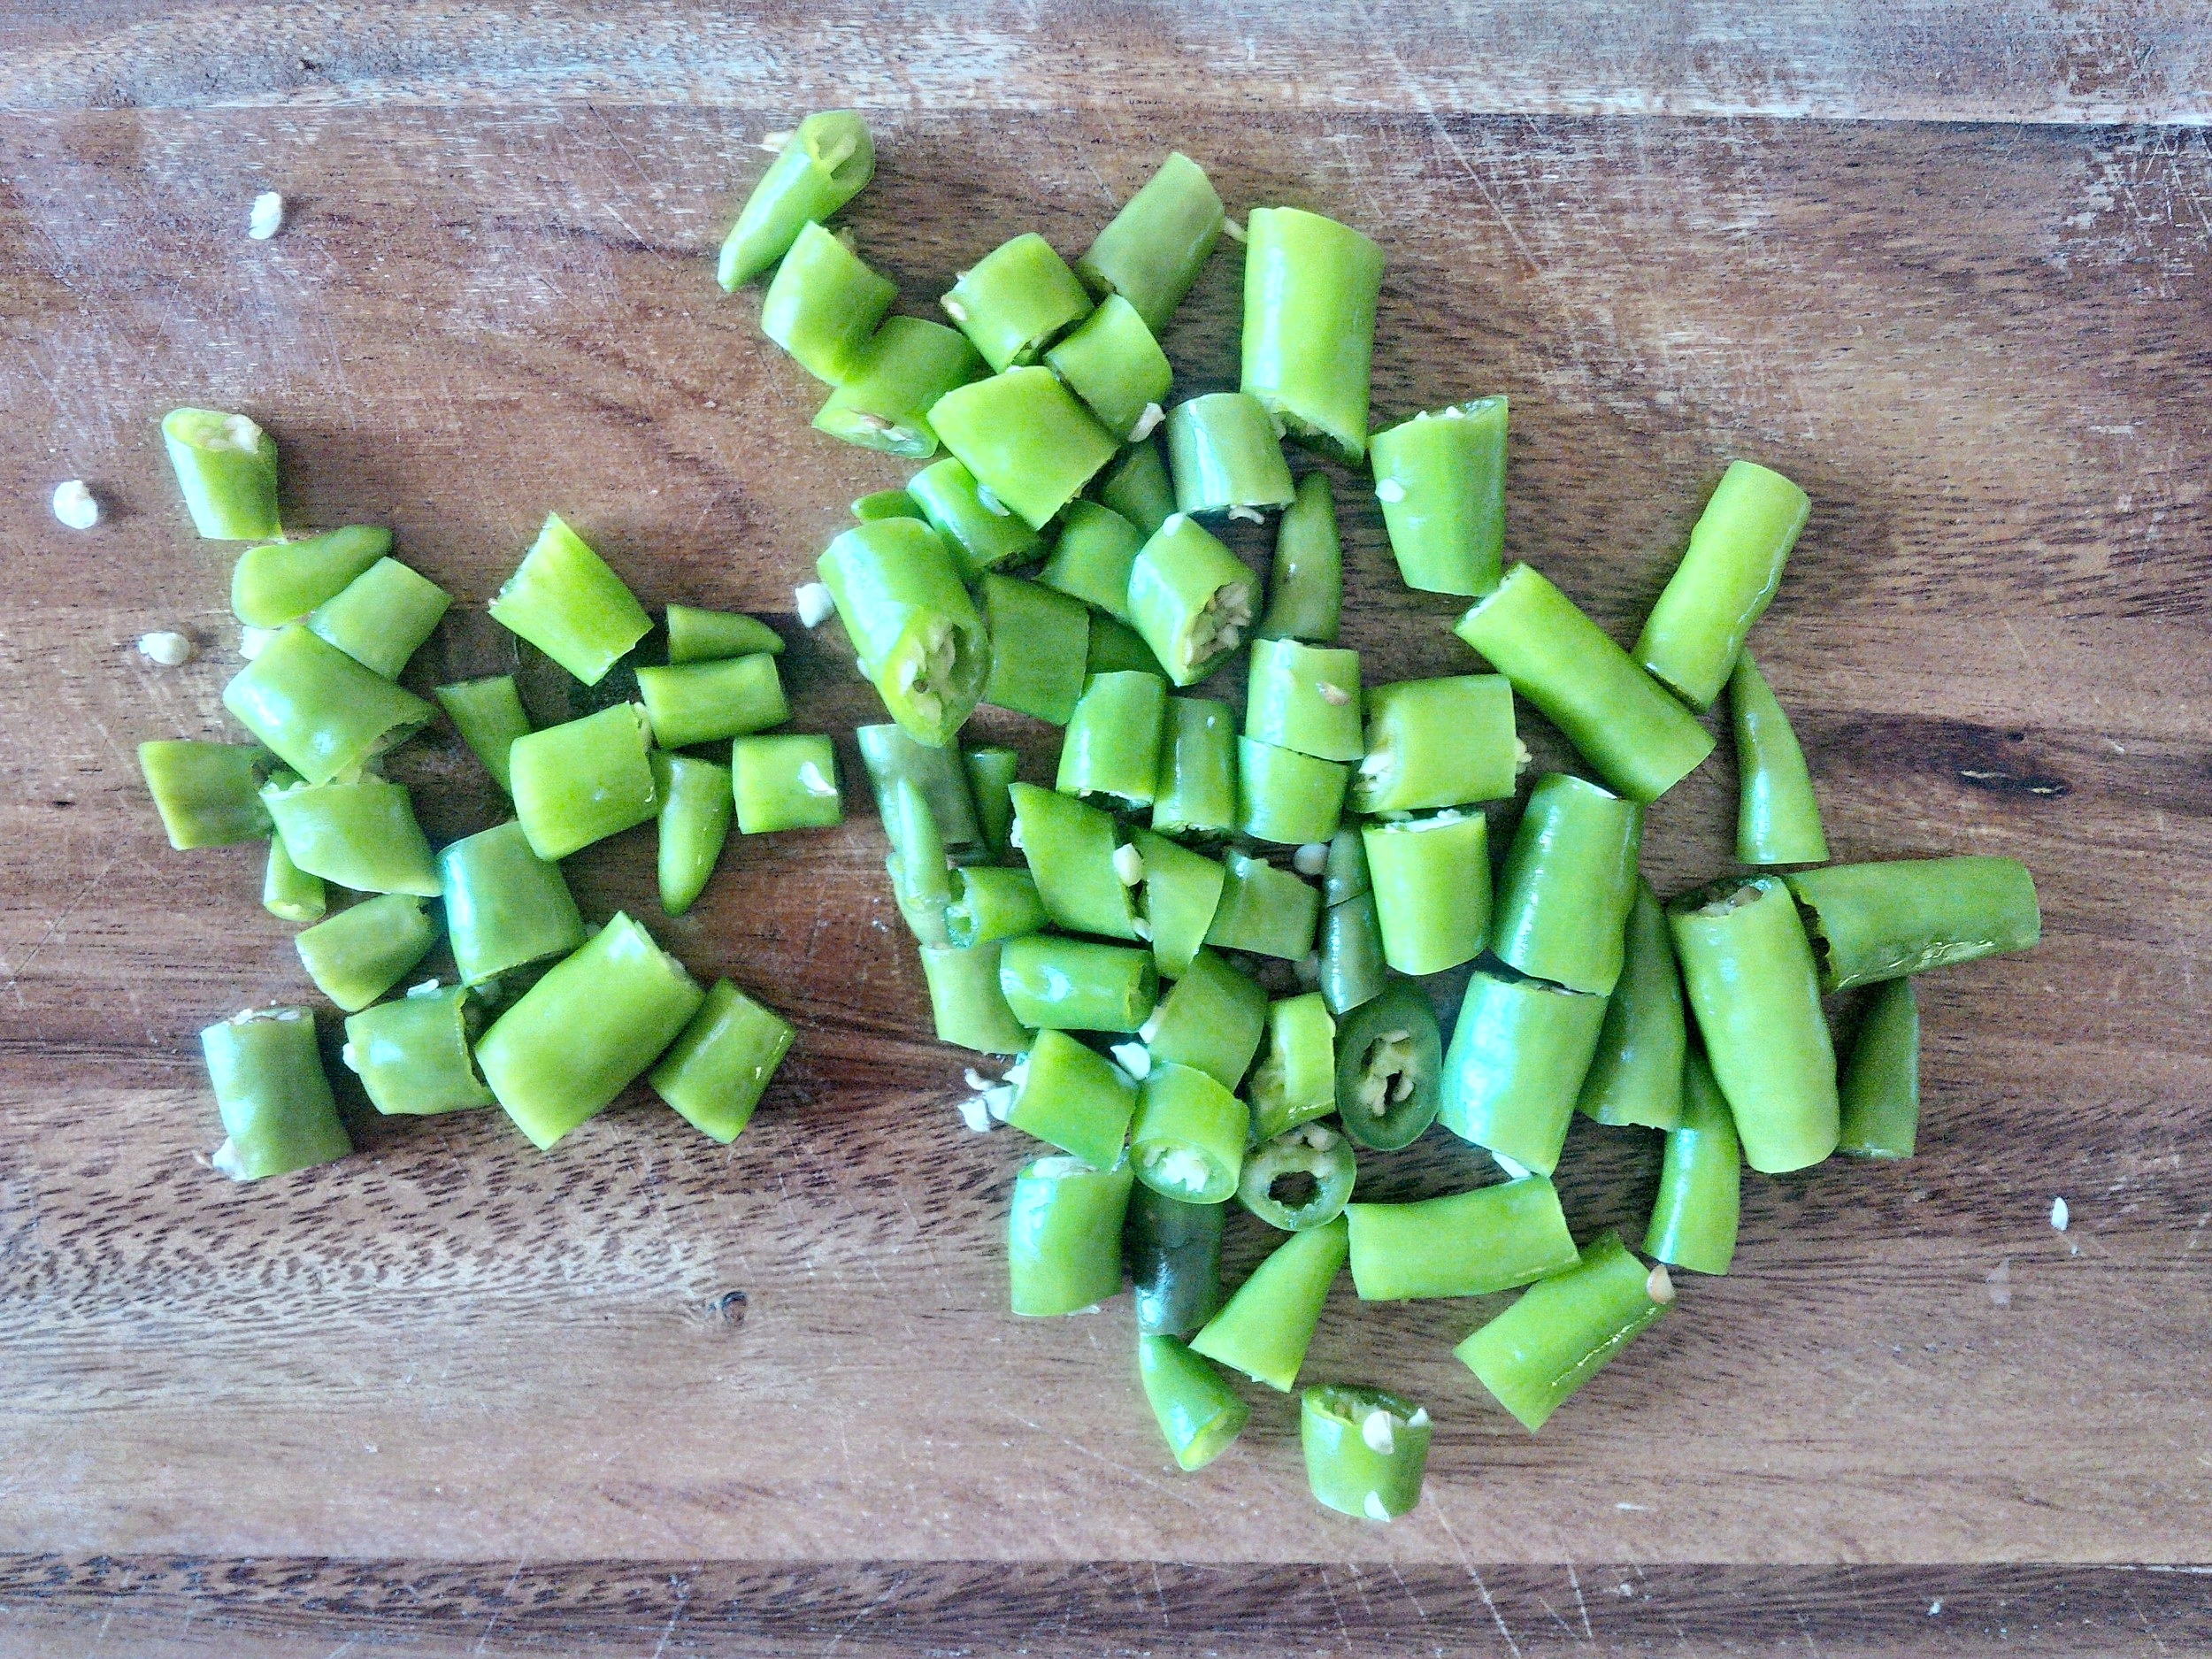
thai chili peppers!

holy fuck, my eyeballs are sweating
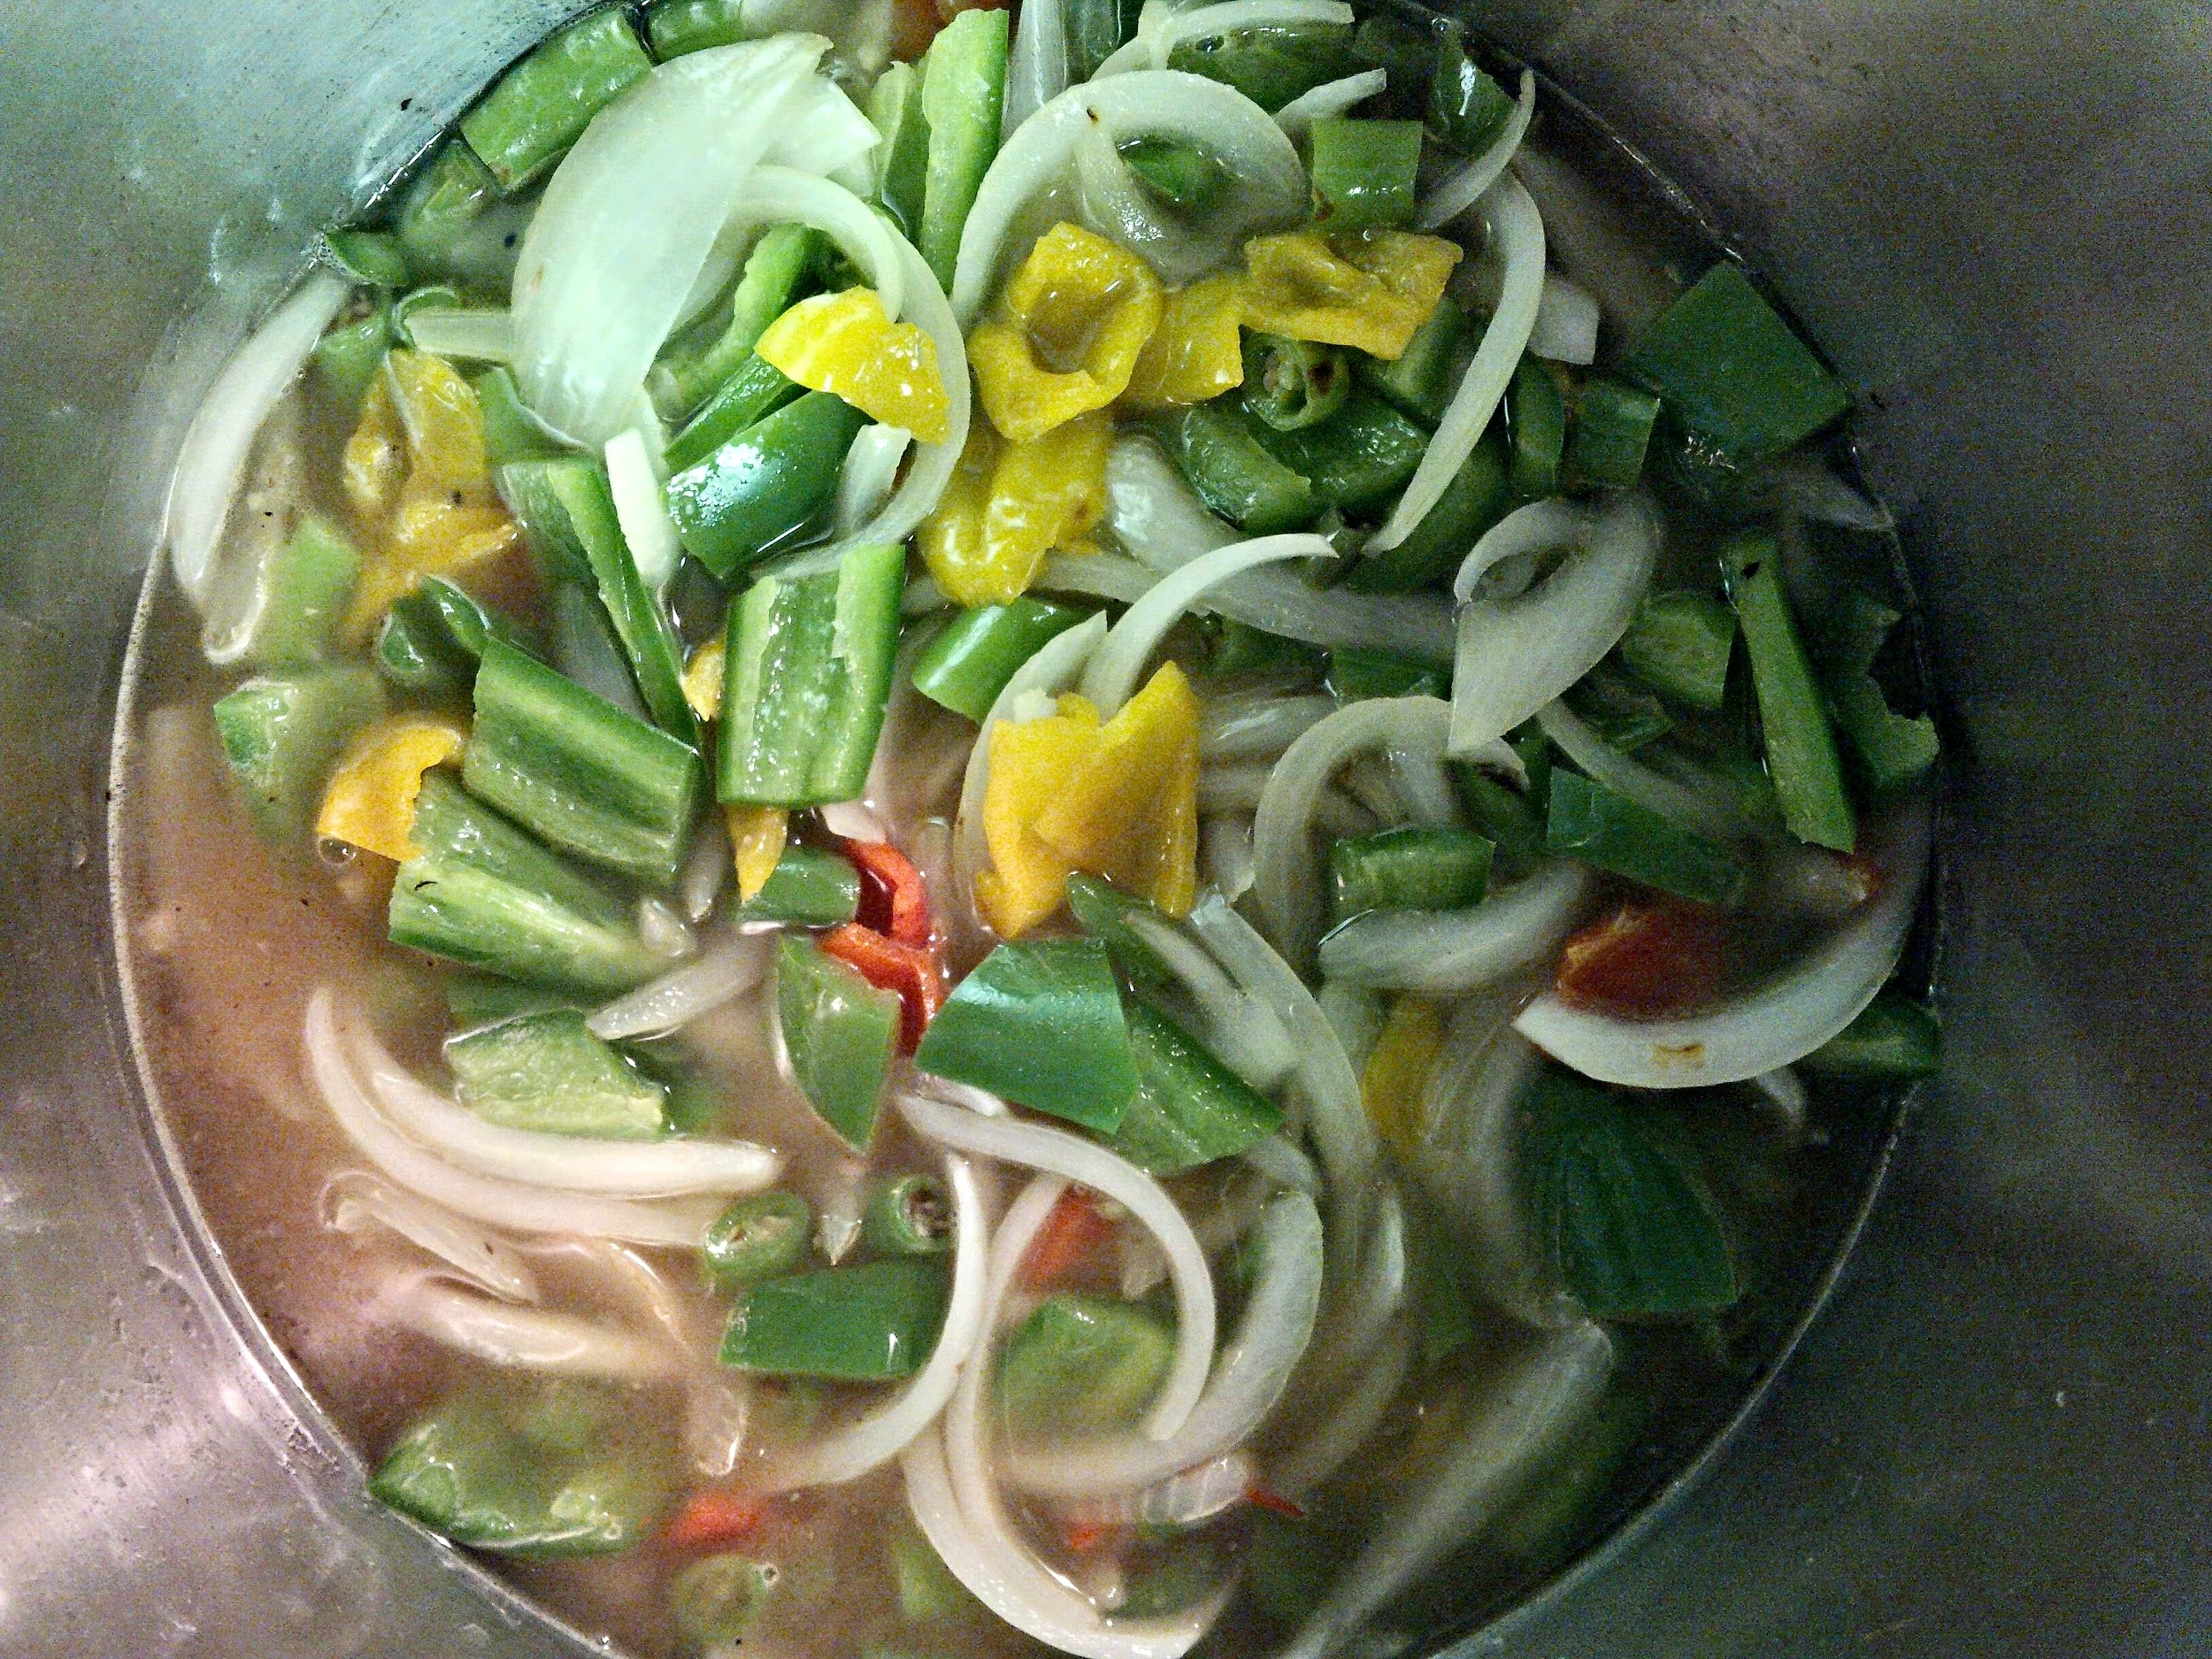
2. Ventilate!
In a heated large pot (Emiril suggests a non-reactive one) add everything you just chopped. Saute for about 3 minutes Now, and I CAN NOT STRESS THIS ENOUGH, make sure your space is properly ventilated. Like open every window and turn on every fan. Greg and I had to go into the other room while I hoped I wasn't burning down the place. It gets in your throat, your eyes, EVERYWHERE!

I almost died taking this photo
Once you have survived those 3 minutes, add 2 cups of water and let simmer for 20 minutes. Again, keep your space ventilated! Maybe try to do this outside and away from any kind of civilization? Let mixture cool down to room temperature.
*While you wait, it might be a good idea to sterilize your jars. Here are directions from the National Center for Home Food Preservation (who knew that existed, huh?)
this photo is so horrible because I couldn't breathe. the things I do for you

cooling down but still spicy
3. Let's get saucy!
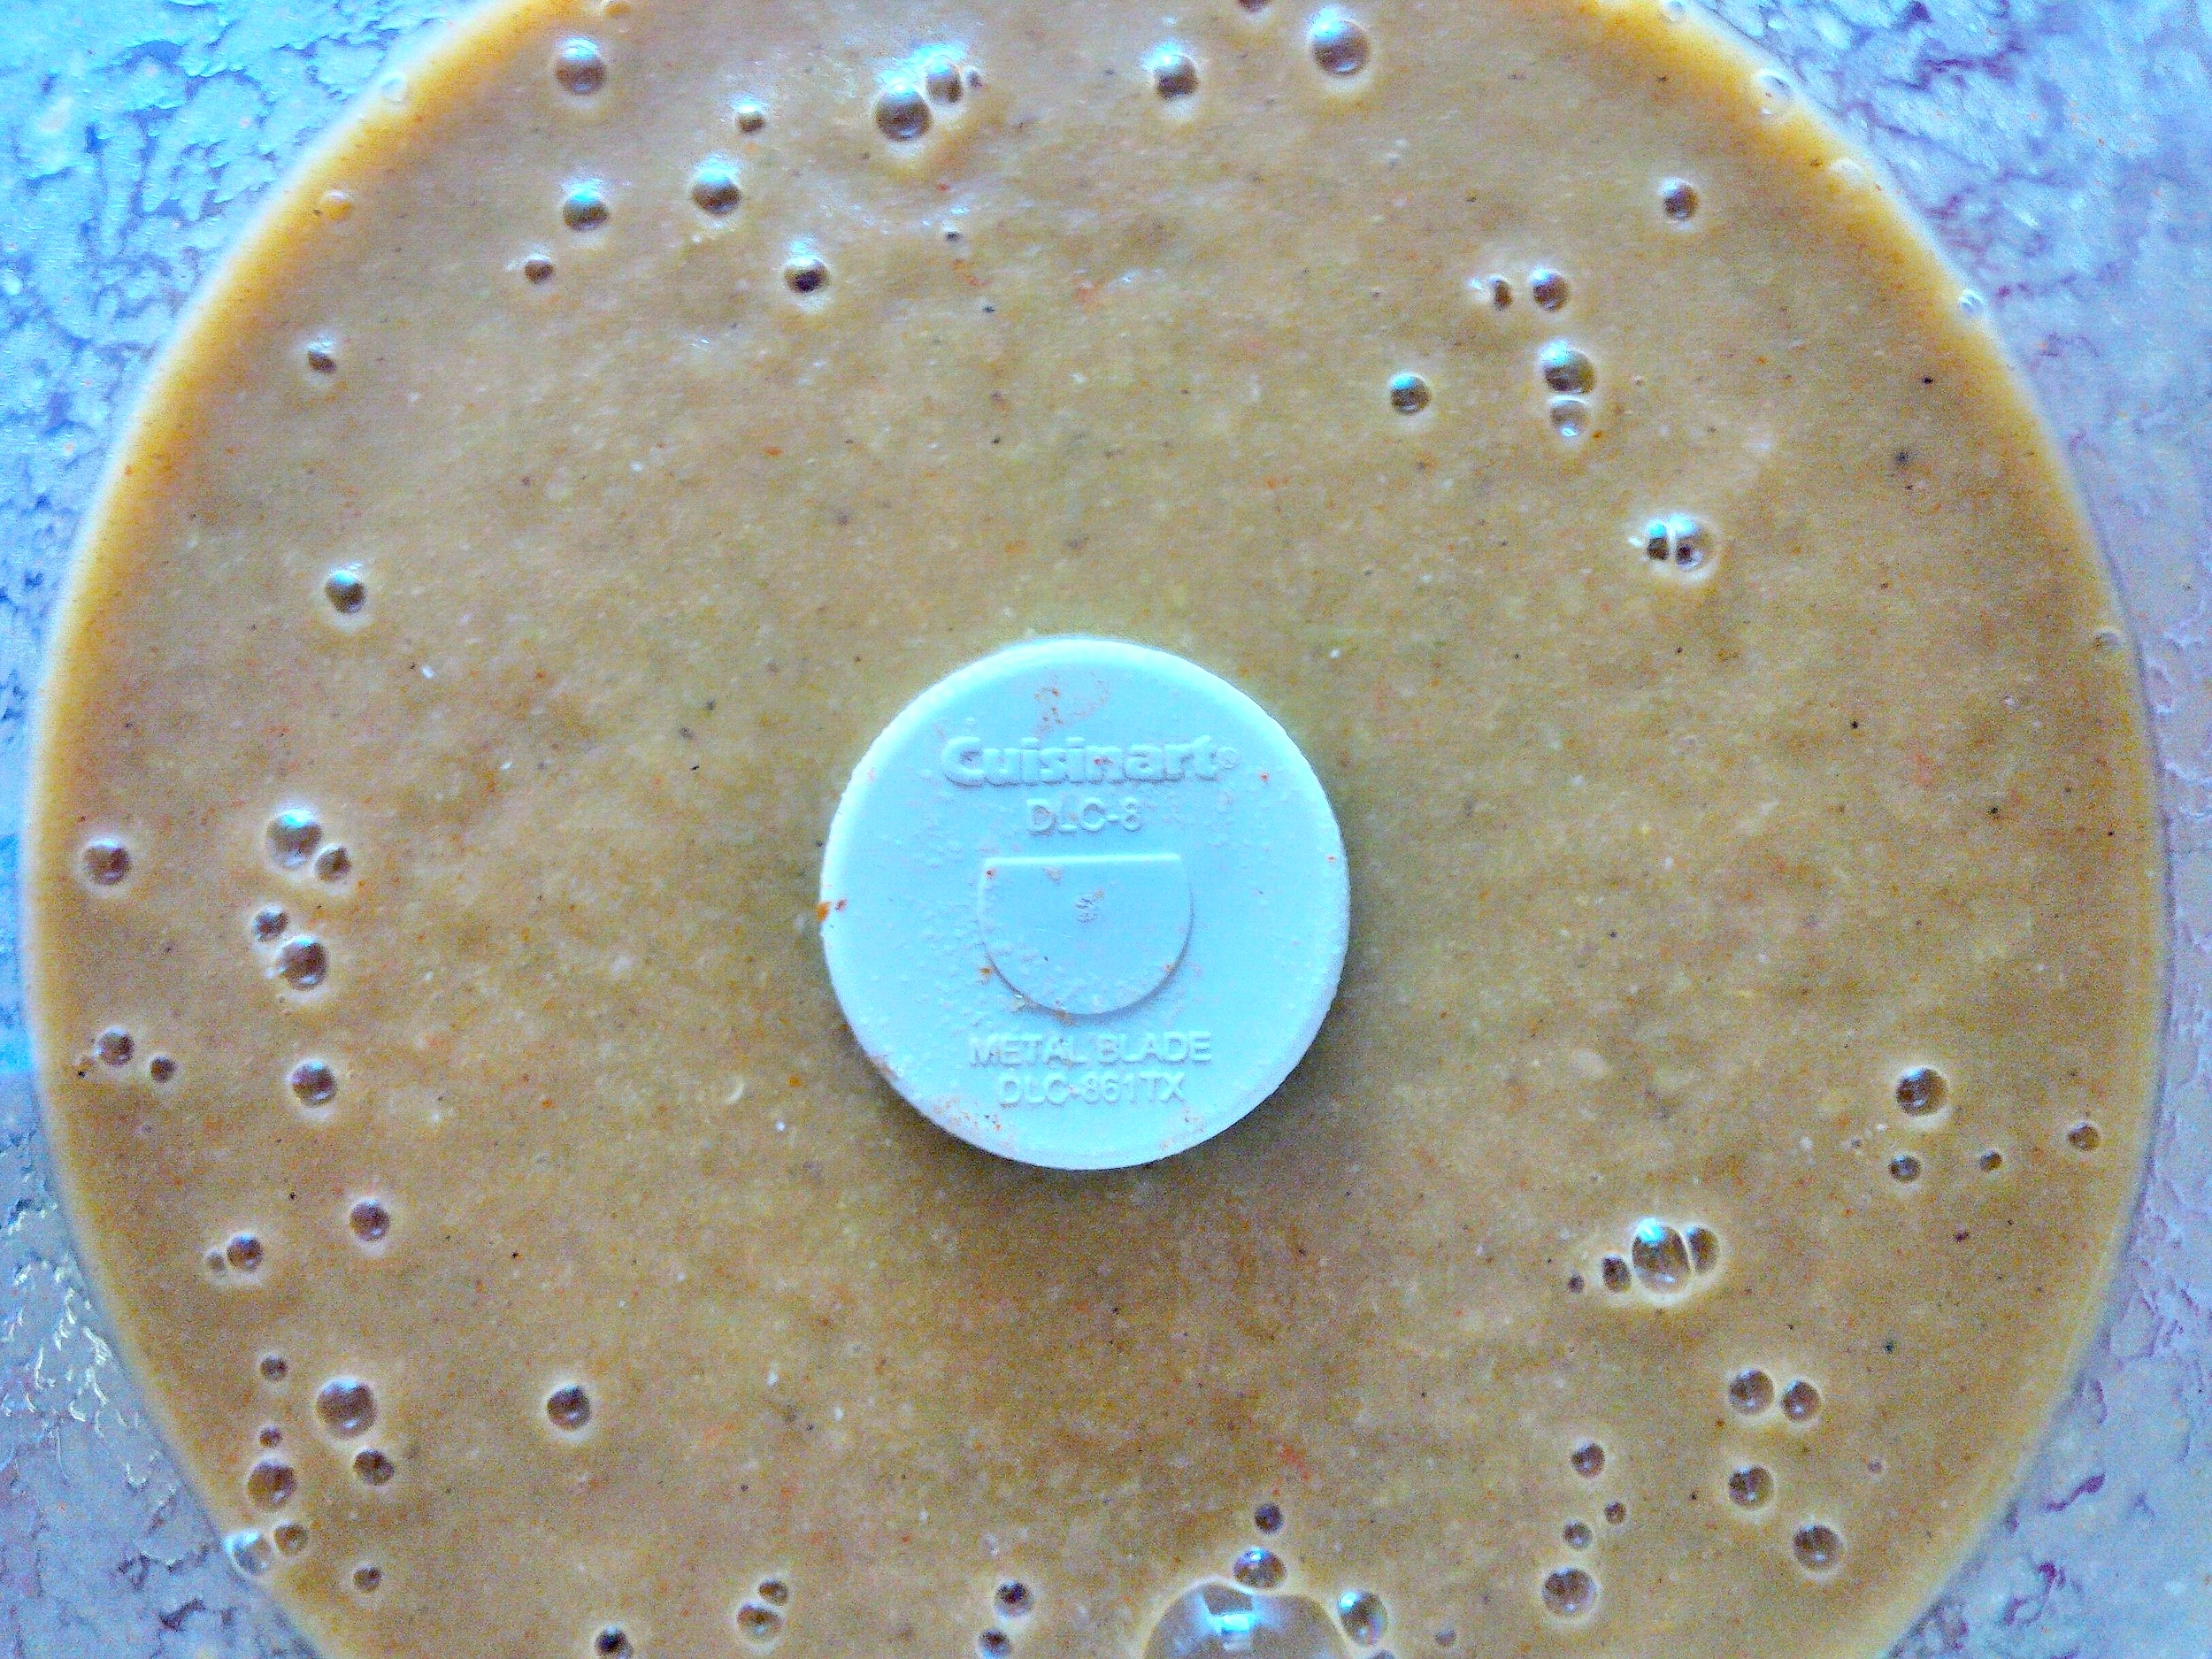
Set up your station for what will potentially be a messy situation. Look how clean mine was at first! Put cooled mixture into food processor and pulse/leave on for about 15 seconds or until it turns into a paste. Then, slowly, start adding a cup of vinegar from the top nozzle of the processor. This is a good time to do a quick taste test - with caution!! In my taste test I learned that although the sauce was delicious, it was also excessively spicy. Like Holy mother fuck what have I done spicy! After a desperate google search on how to make hot sauce less spicy, I decided to add another cup of vinegar and 1 tablespoon of honey. This made it spicy, but more of the holy fuck I feel alive spicy. And that I can live with!

somewhat clean station

getting ready to be processed

spicy paste
paste + vinegar
When the flavor feels right, strain it with a fine mesh. I had decided to do use a measuring up so that my pouring would be easy but this left very little room for failure/cleanliness. I had also decided to ask Greg to help me because two hungover people are equal to not even half of a real person.
* I saved the leftover mush as marinade for some chicken breast which I cooked in butter and then de-glazed the pot with orange juice. It was dope to say the least
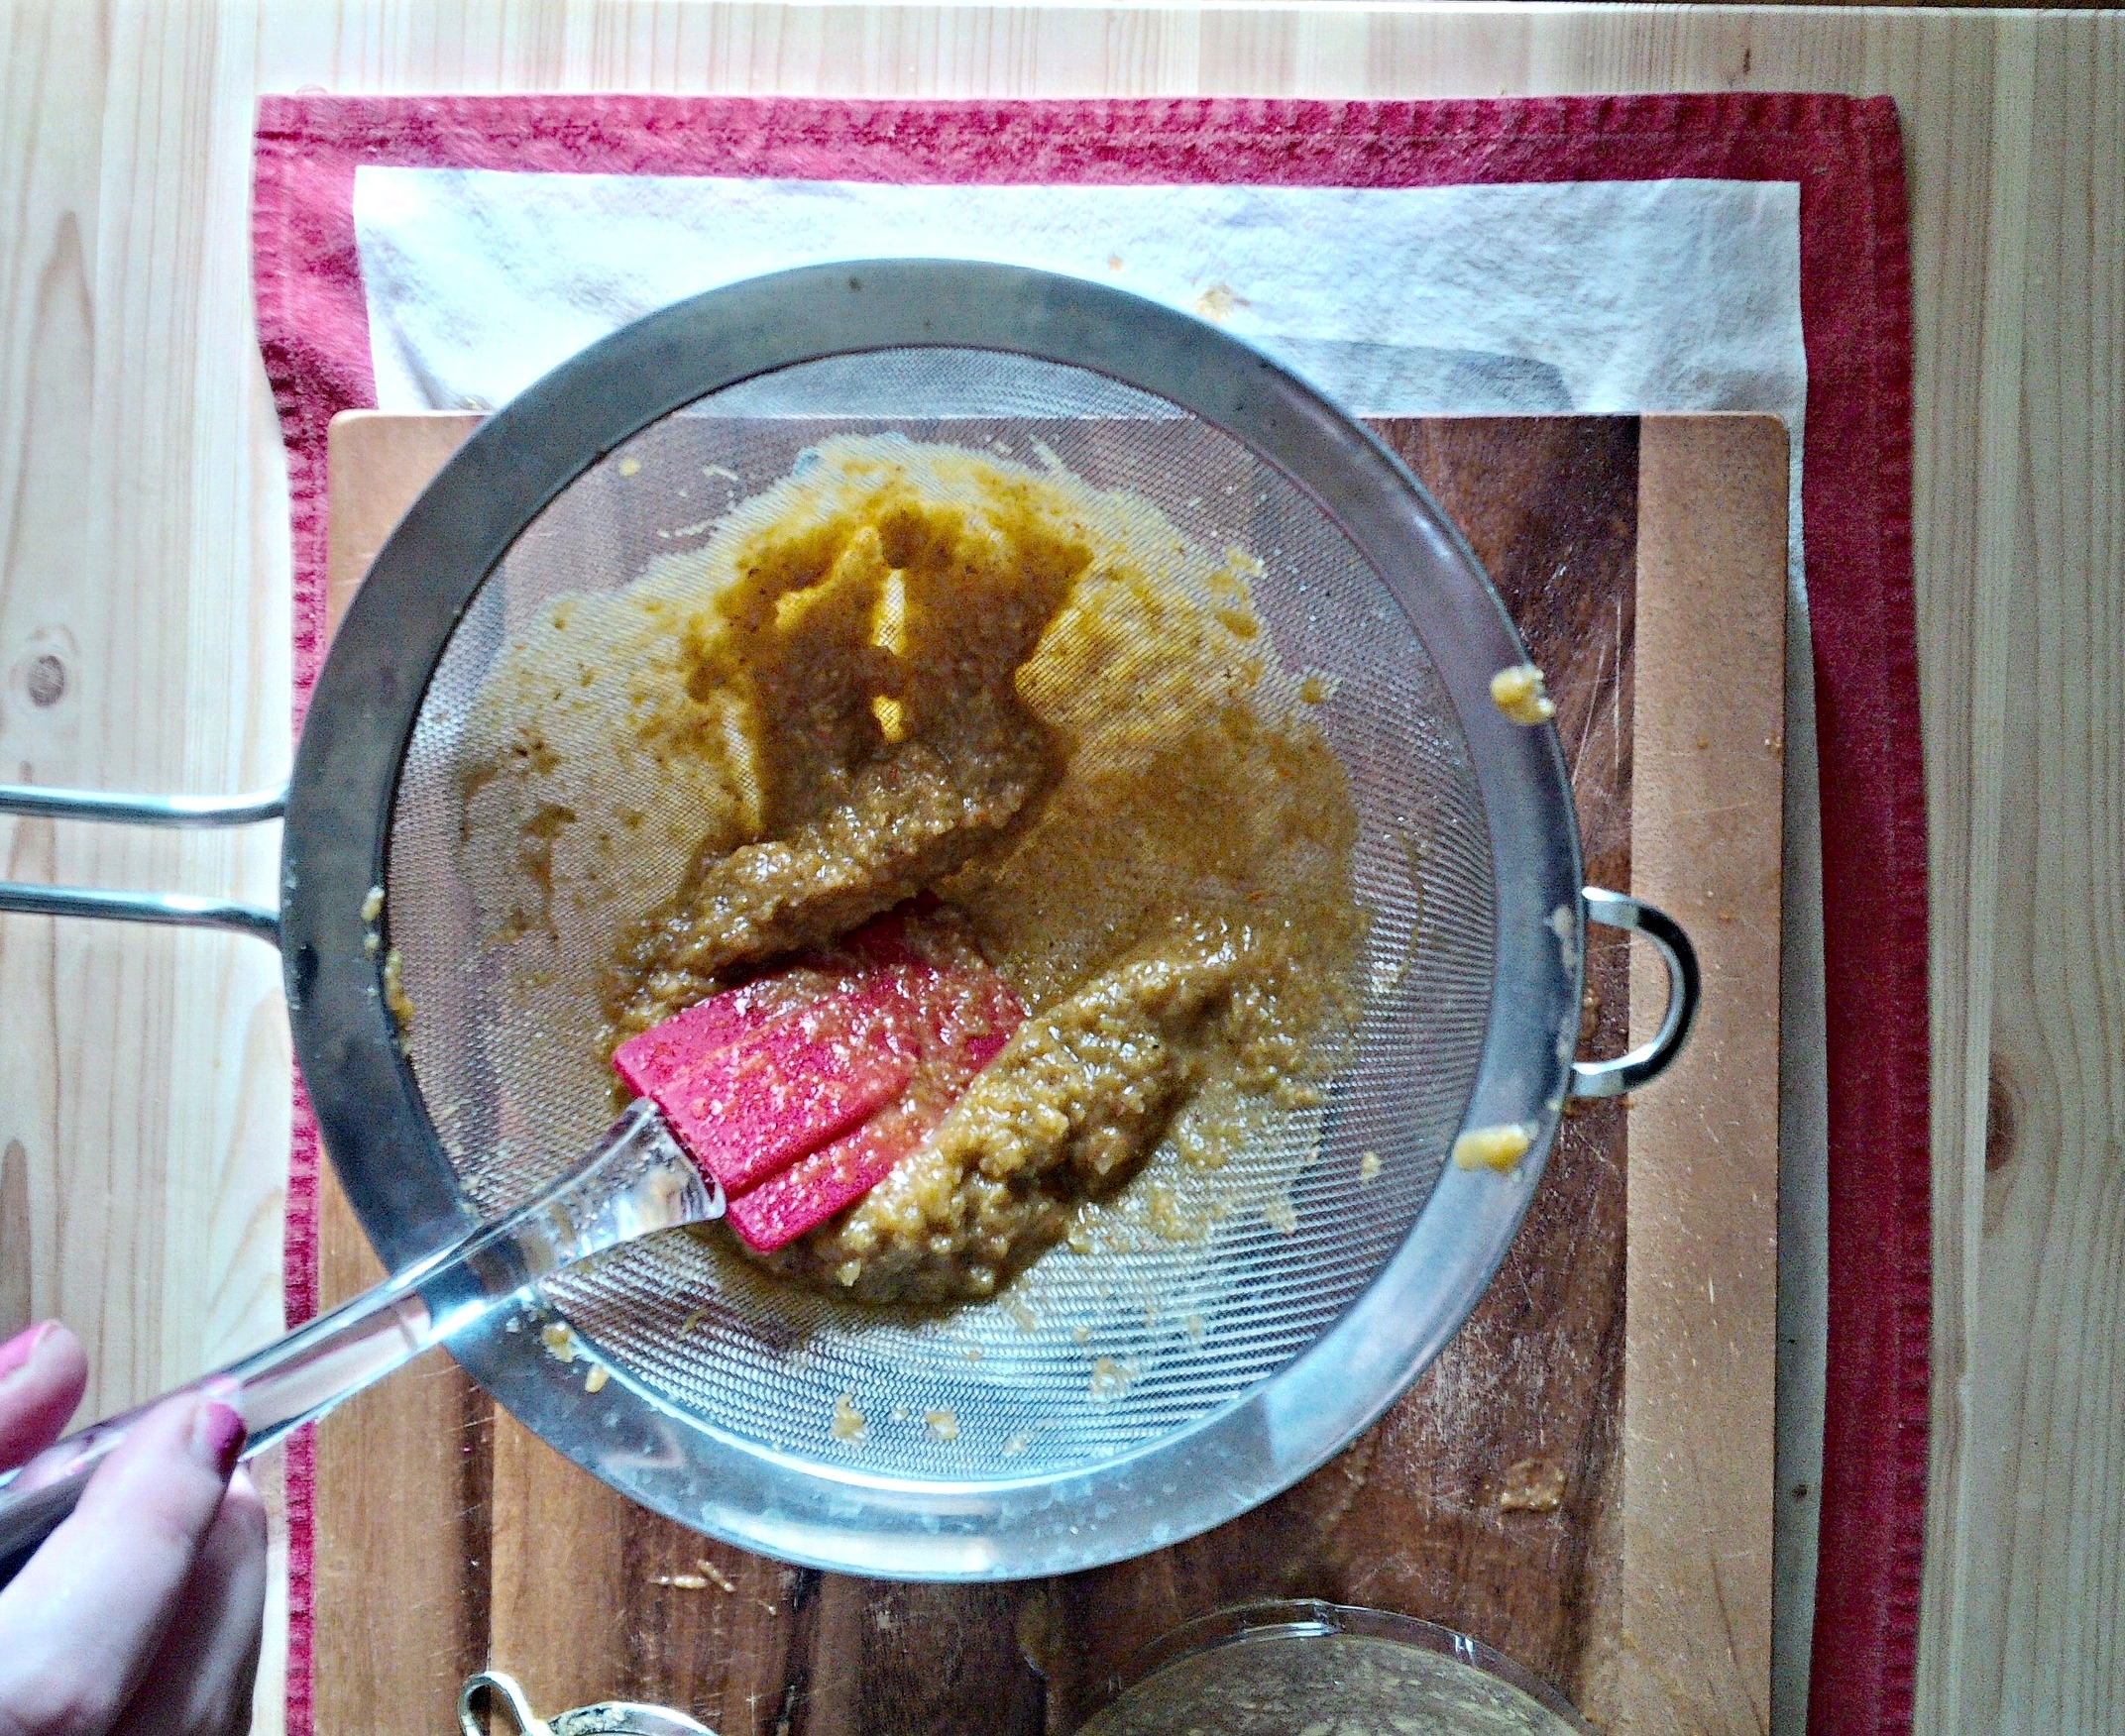
spicy and delicious mush
4. Bottle me up!
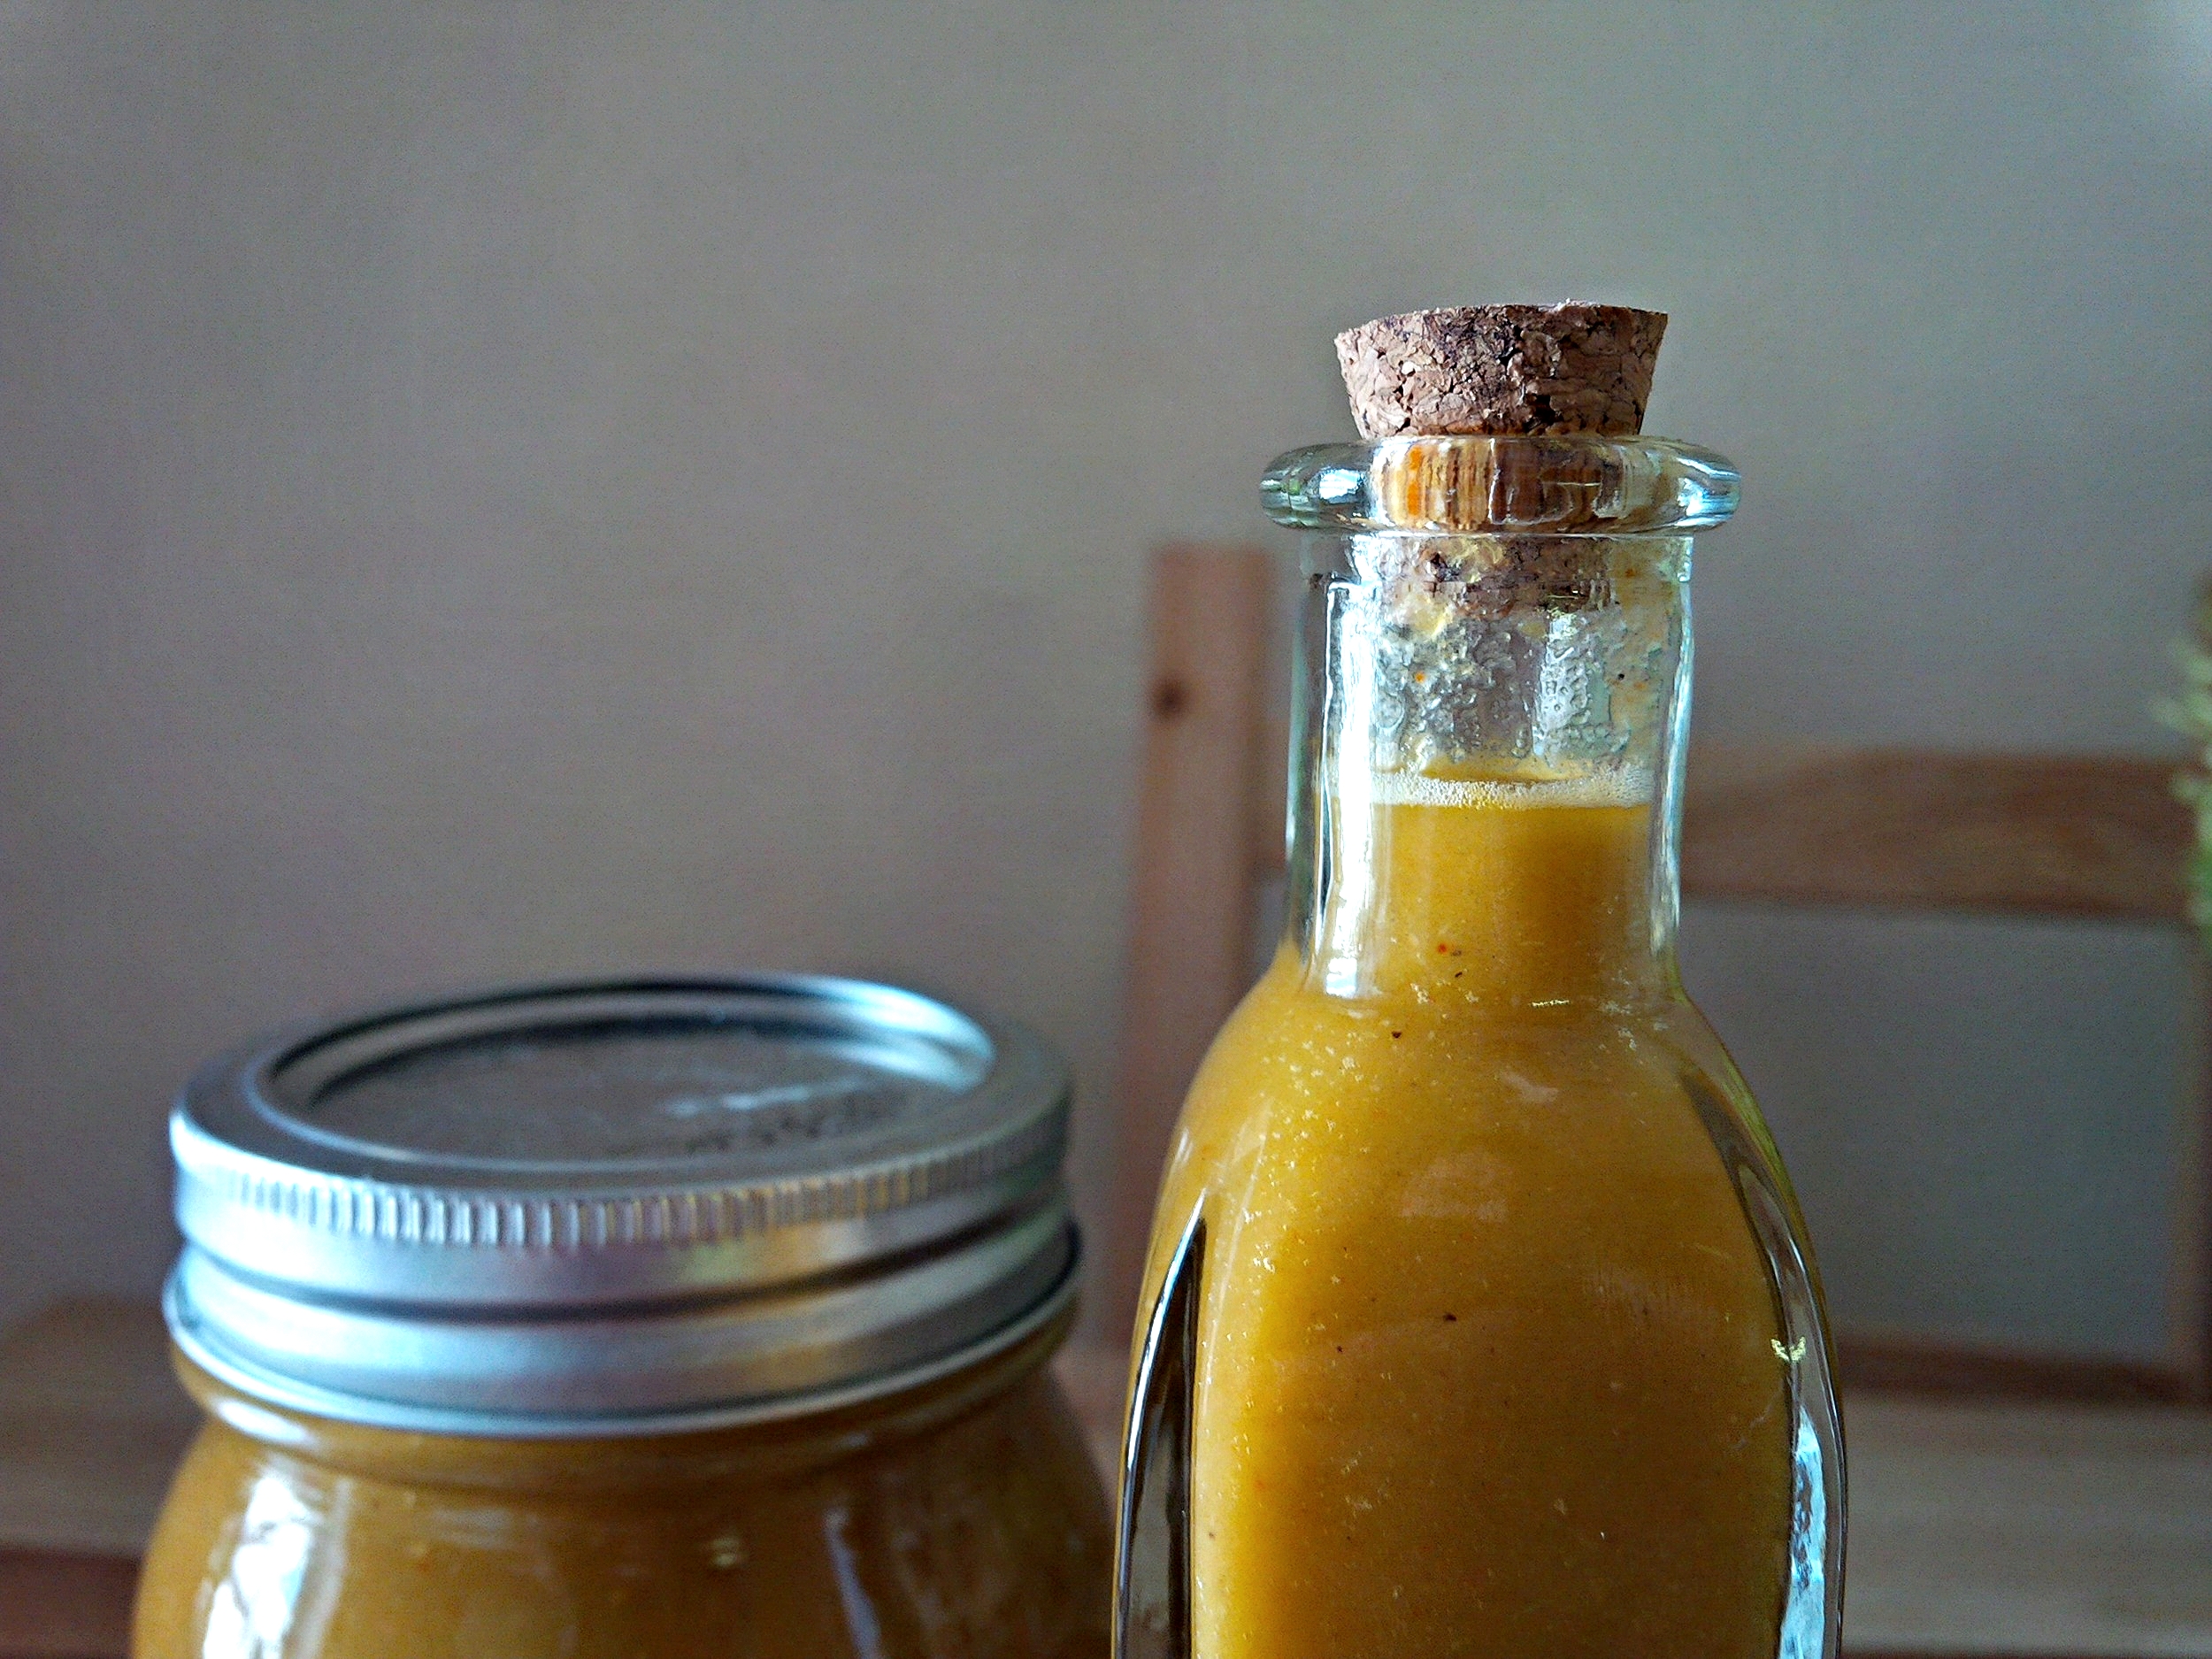
Pour the liquid mixture into a sanitized bottle with an air tight lid. Store for 2 weeks prior to using. That simple! You can now brag about the awesome hot sauce you made (while hungover) while you put it on your morning after eggs!
Thanks and I hope you enjoy!

getting ready to pour
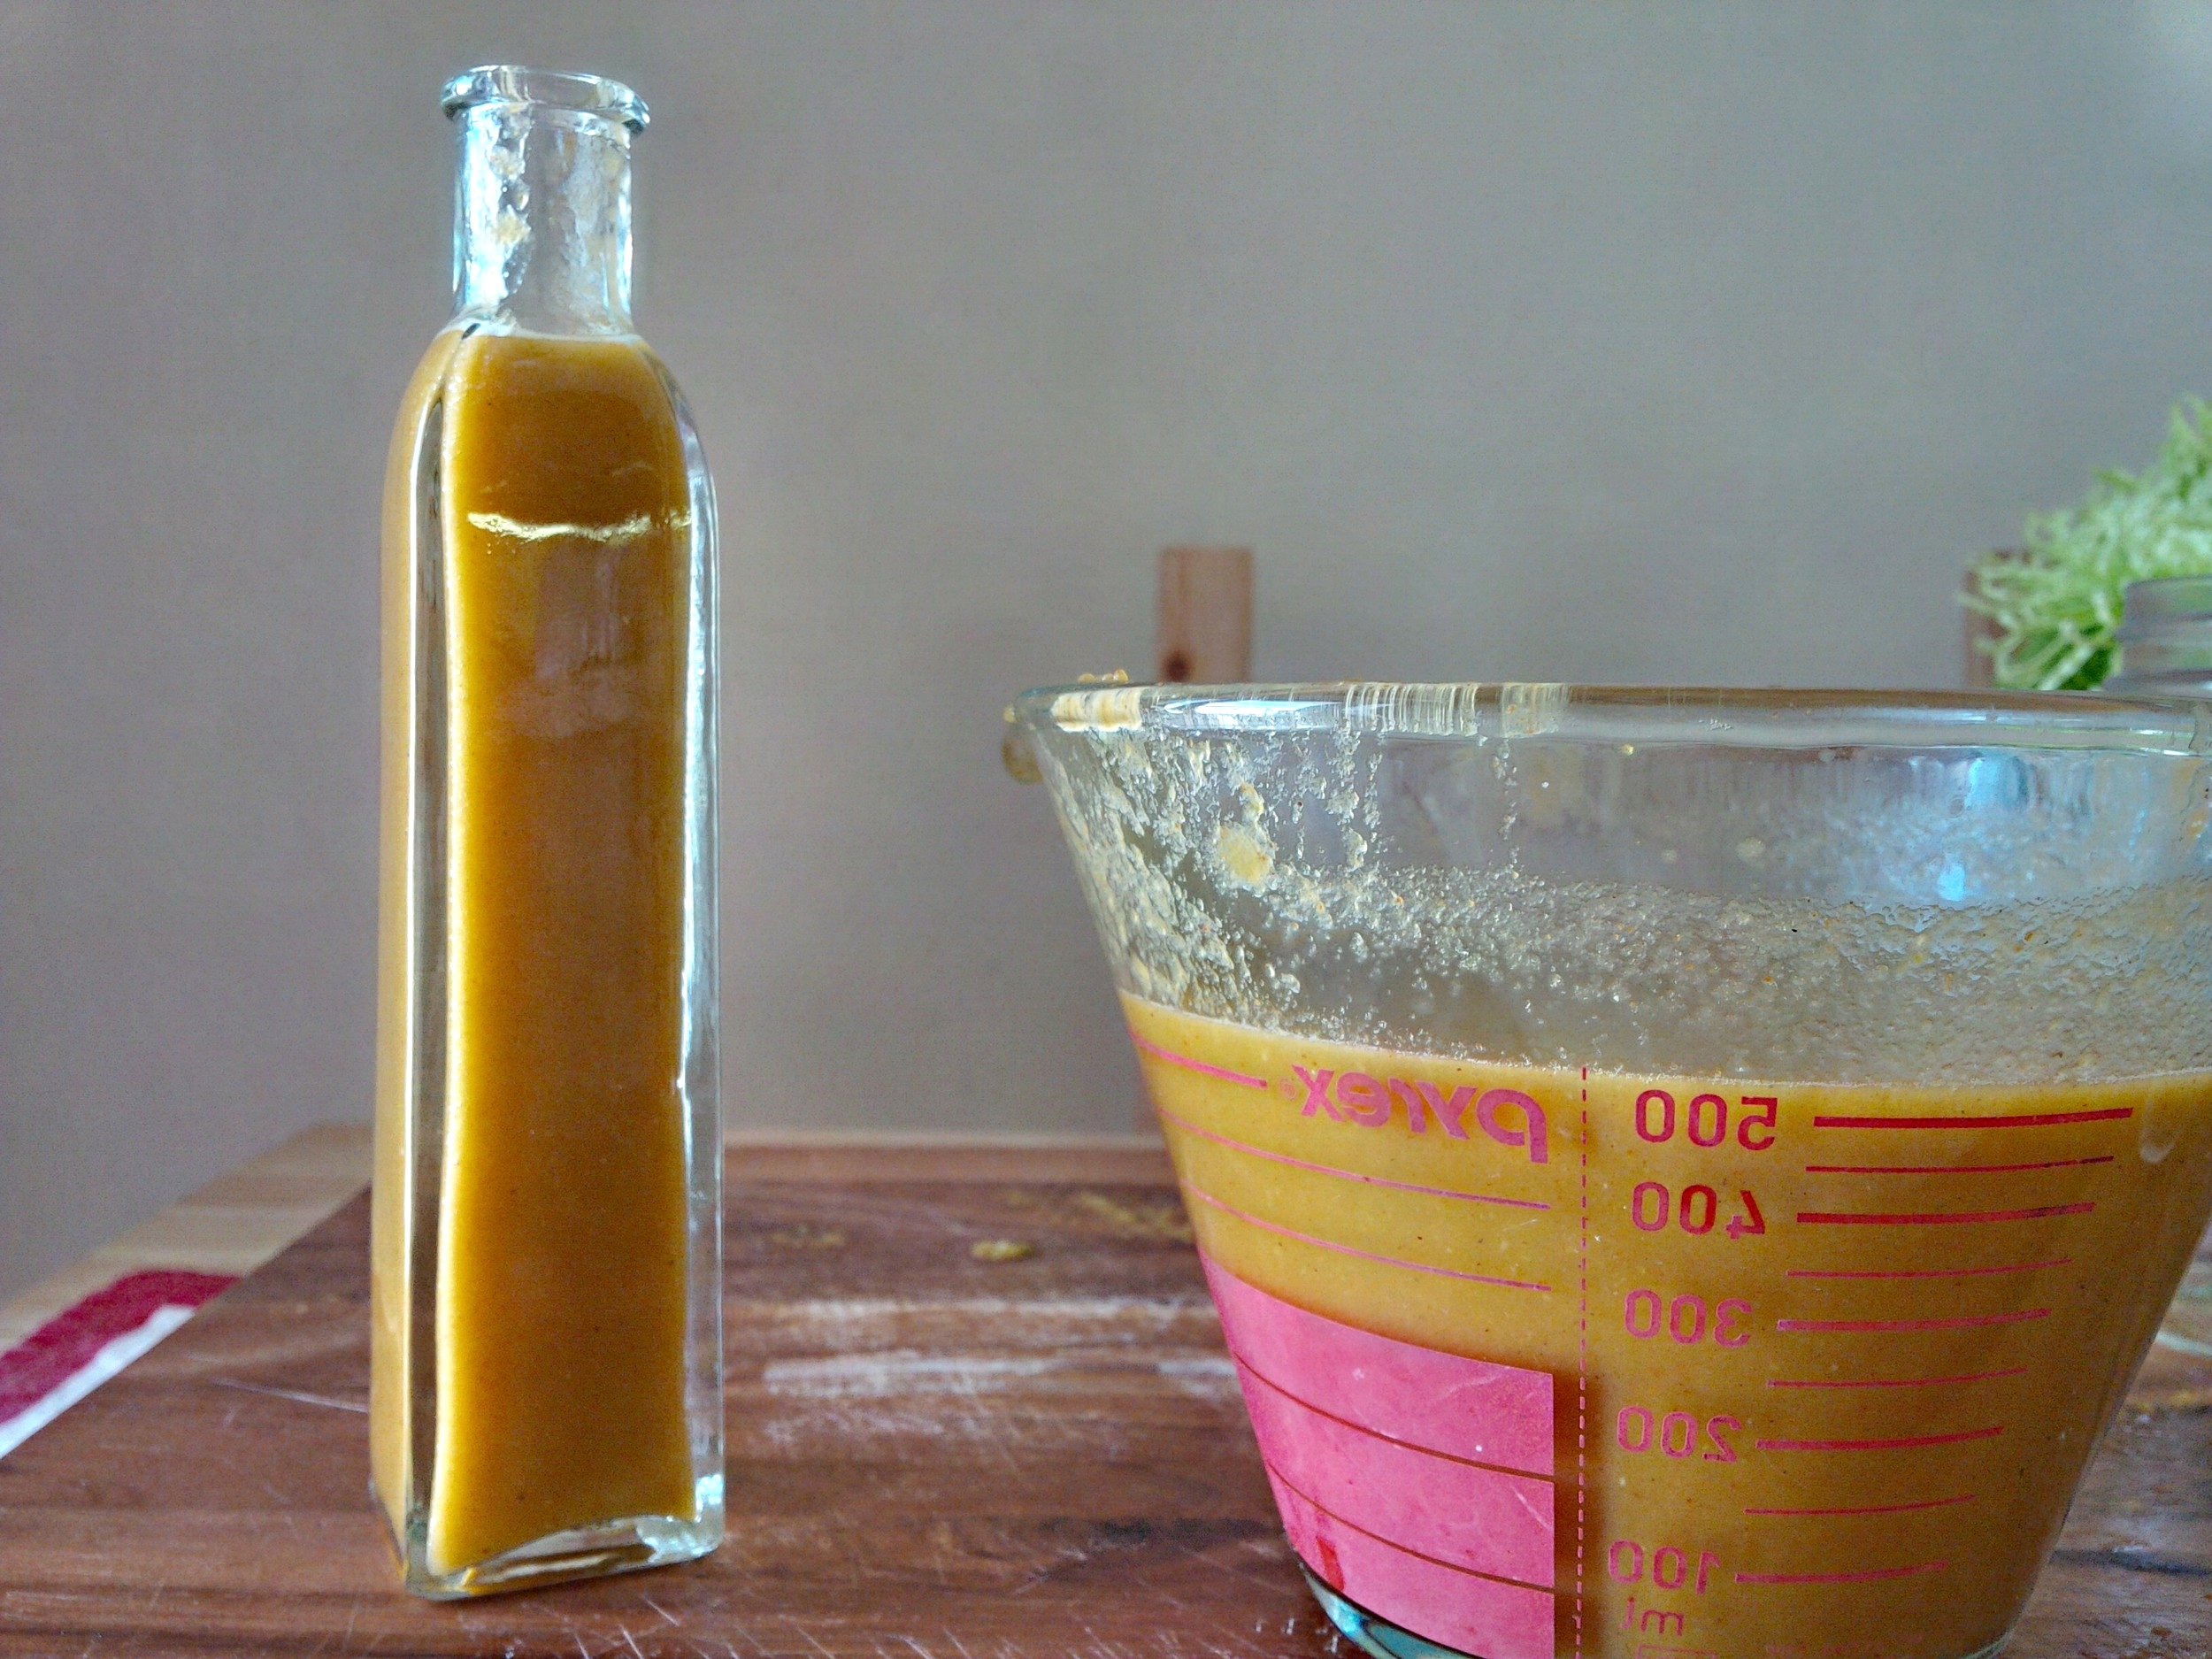
bottle 1 filled with pa-pow sauce
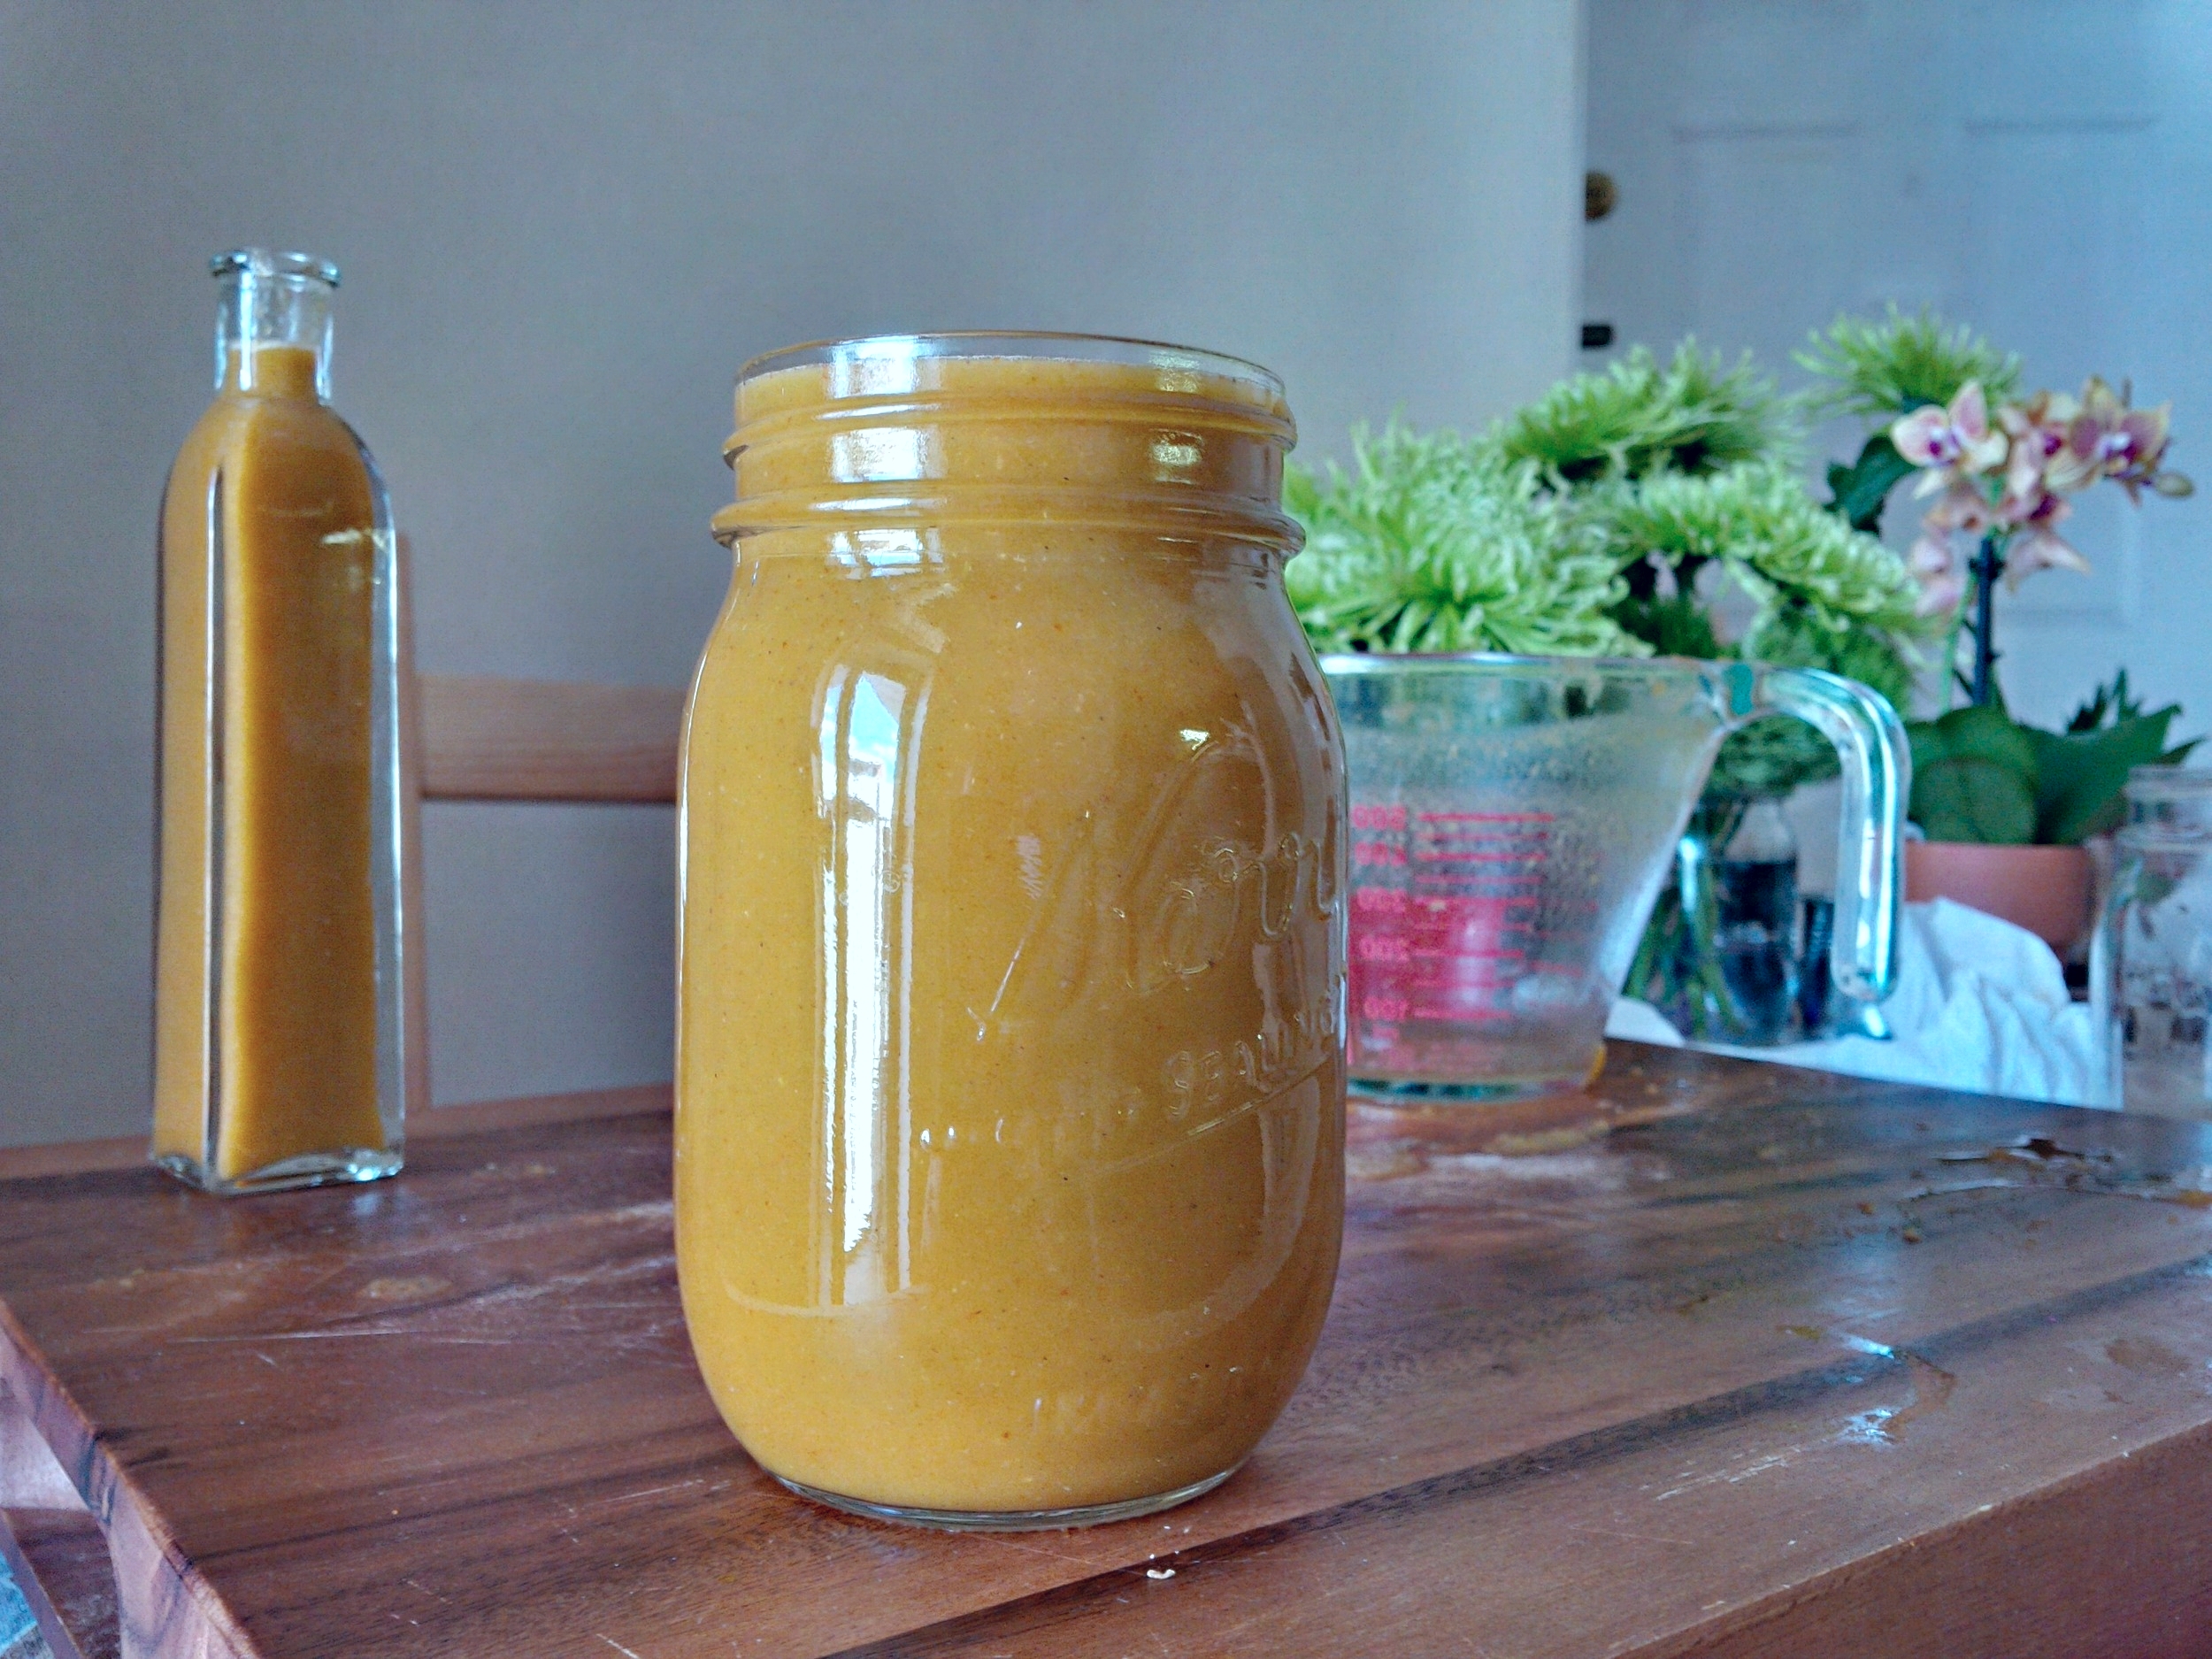
bottle 2 filled with pa-pow sauce!

pa-Pow sauce

pa-Pow!