Haaiiii!!!!! Am I a few days late in posting the beach club craft post for August? Yes, absolutely. Sometimes life gets in the way (or rather, the bad habit of watching tv shows during the commute to work instead of writing posts get in the way). But here I am and there you are, getting ready to go on the wild journey that is September. So why not extend August summer dreams a few more days with a little beach club craft post. 👏👏👏🌞🌞🌞
Like with everything I do, there is the vision of what I think it should be, and then what I actually end up doing. That, my friends, is called "thinking on your feet". Beach club and the people it consists of give me life. But with busy schedules, trying to organize a time for 8 people to meet can be tough. To ensure I see their lovely faces more often, I decided to make face magnets!! What was supposed to be 8 individual magnets quickly turned into 4; each couple being interpreted by the crafting supplies in my very messy crafting room (aka guest bedroom / storage / office). Continue reading to find your own magnet inspiration!
Supplies:
- Cutting Matt
- Ruler/ straight edge
- X-acto blade
- Cork (sheet or roll)
- Magnets (sheet or roll)
- Mod podge (I us d the gloss lustre)
- Foam brush
- Printing paper (I used basic b&w but you can get fancier)
- Random crafting supplies of your choosing. Supplies used in this post include :
- Black craft paint
- Gold craft paint
- Brushes
- Elmers glitter glue
- Glitter glue
- Glitter
- Wooden dowels
- Googley eyes of various sizes
- Various decorative trim
- A lighter
Instructions:
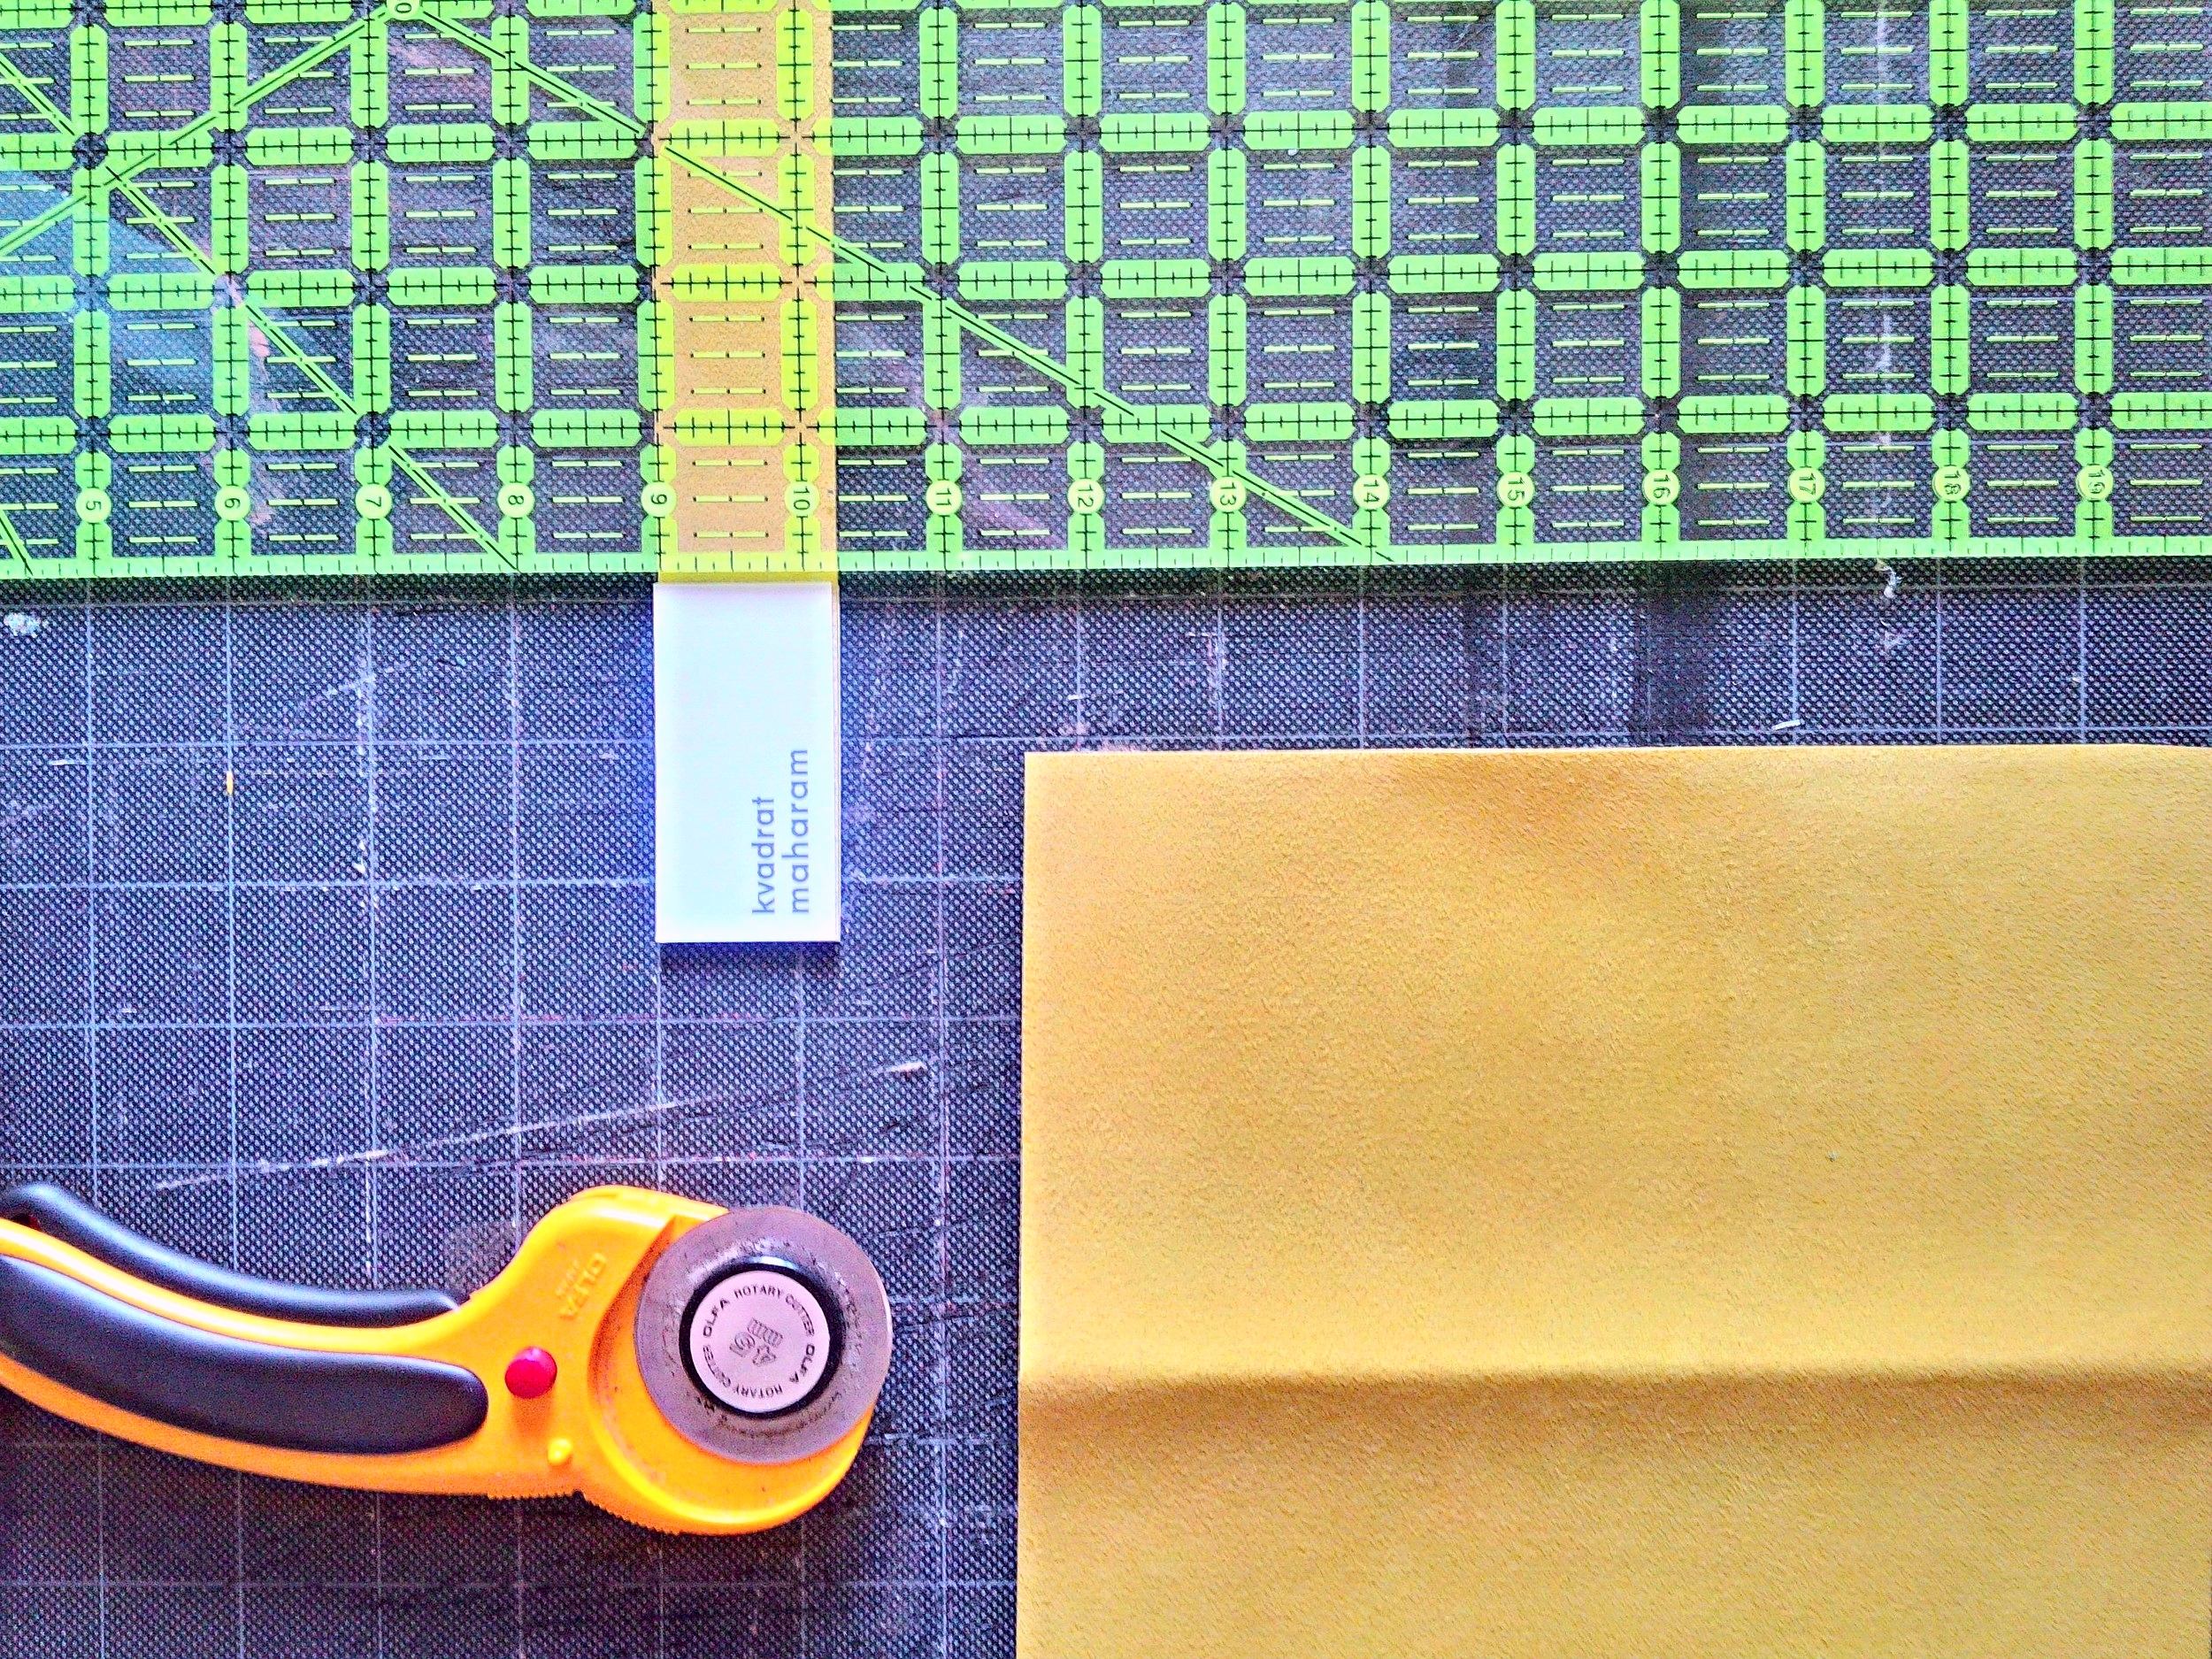
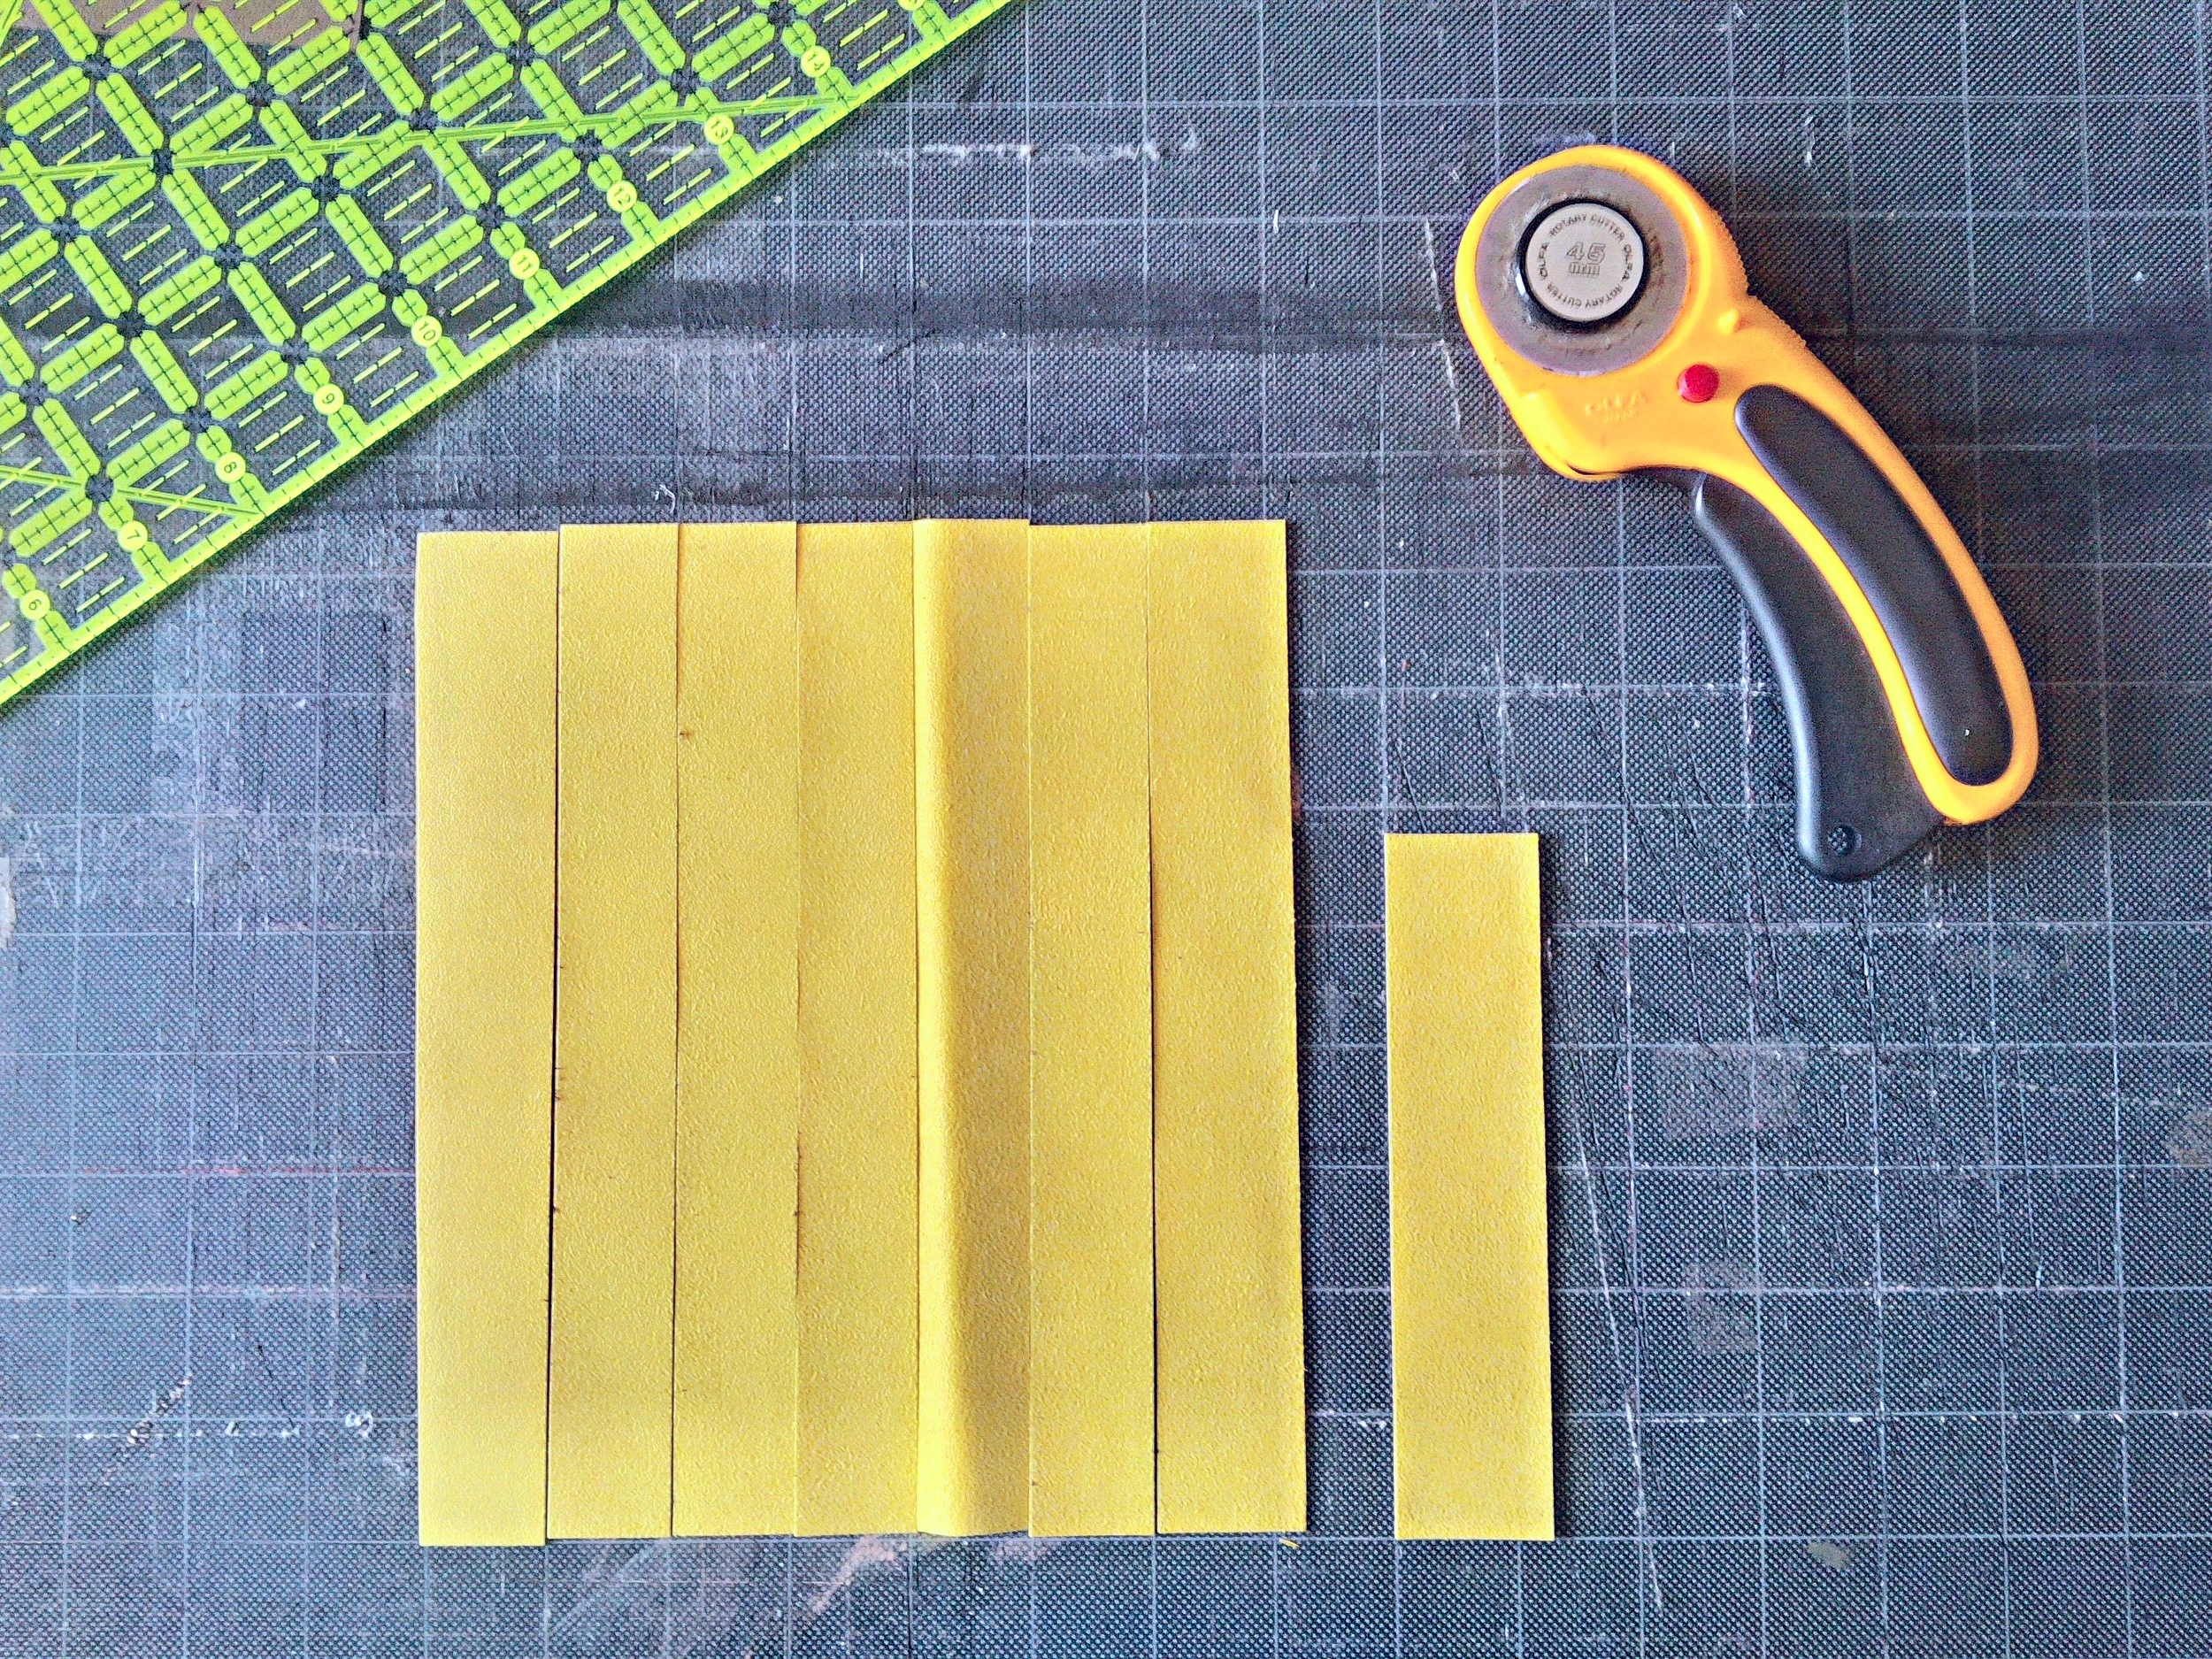
1. Get Corky
Using cork as the backer/medium which we will be gluing to, cut 3" squares from sheets or rolls. Pro tip from Martha Stewart, if using cork in roll format, iron flat on low temperature prior to crafting (it totally works!). If you are lazy, use the sheet version instead. If you are even lazier, use cardboard from a shoe box. If you are EVEN lazier, why are you making a craft to begin with? But hey, thanks for reading! Check us out on Instagram 📸


Never mind the gross cutting board
Print out a few copies of your favorite photo. It could be of your own beach club gang. It could also be of a taco. Just print it out. Also, I used basic paper (so basic) because It will be covered in mod podge anyway. Feel free to get fancier with your taco magnet.

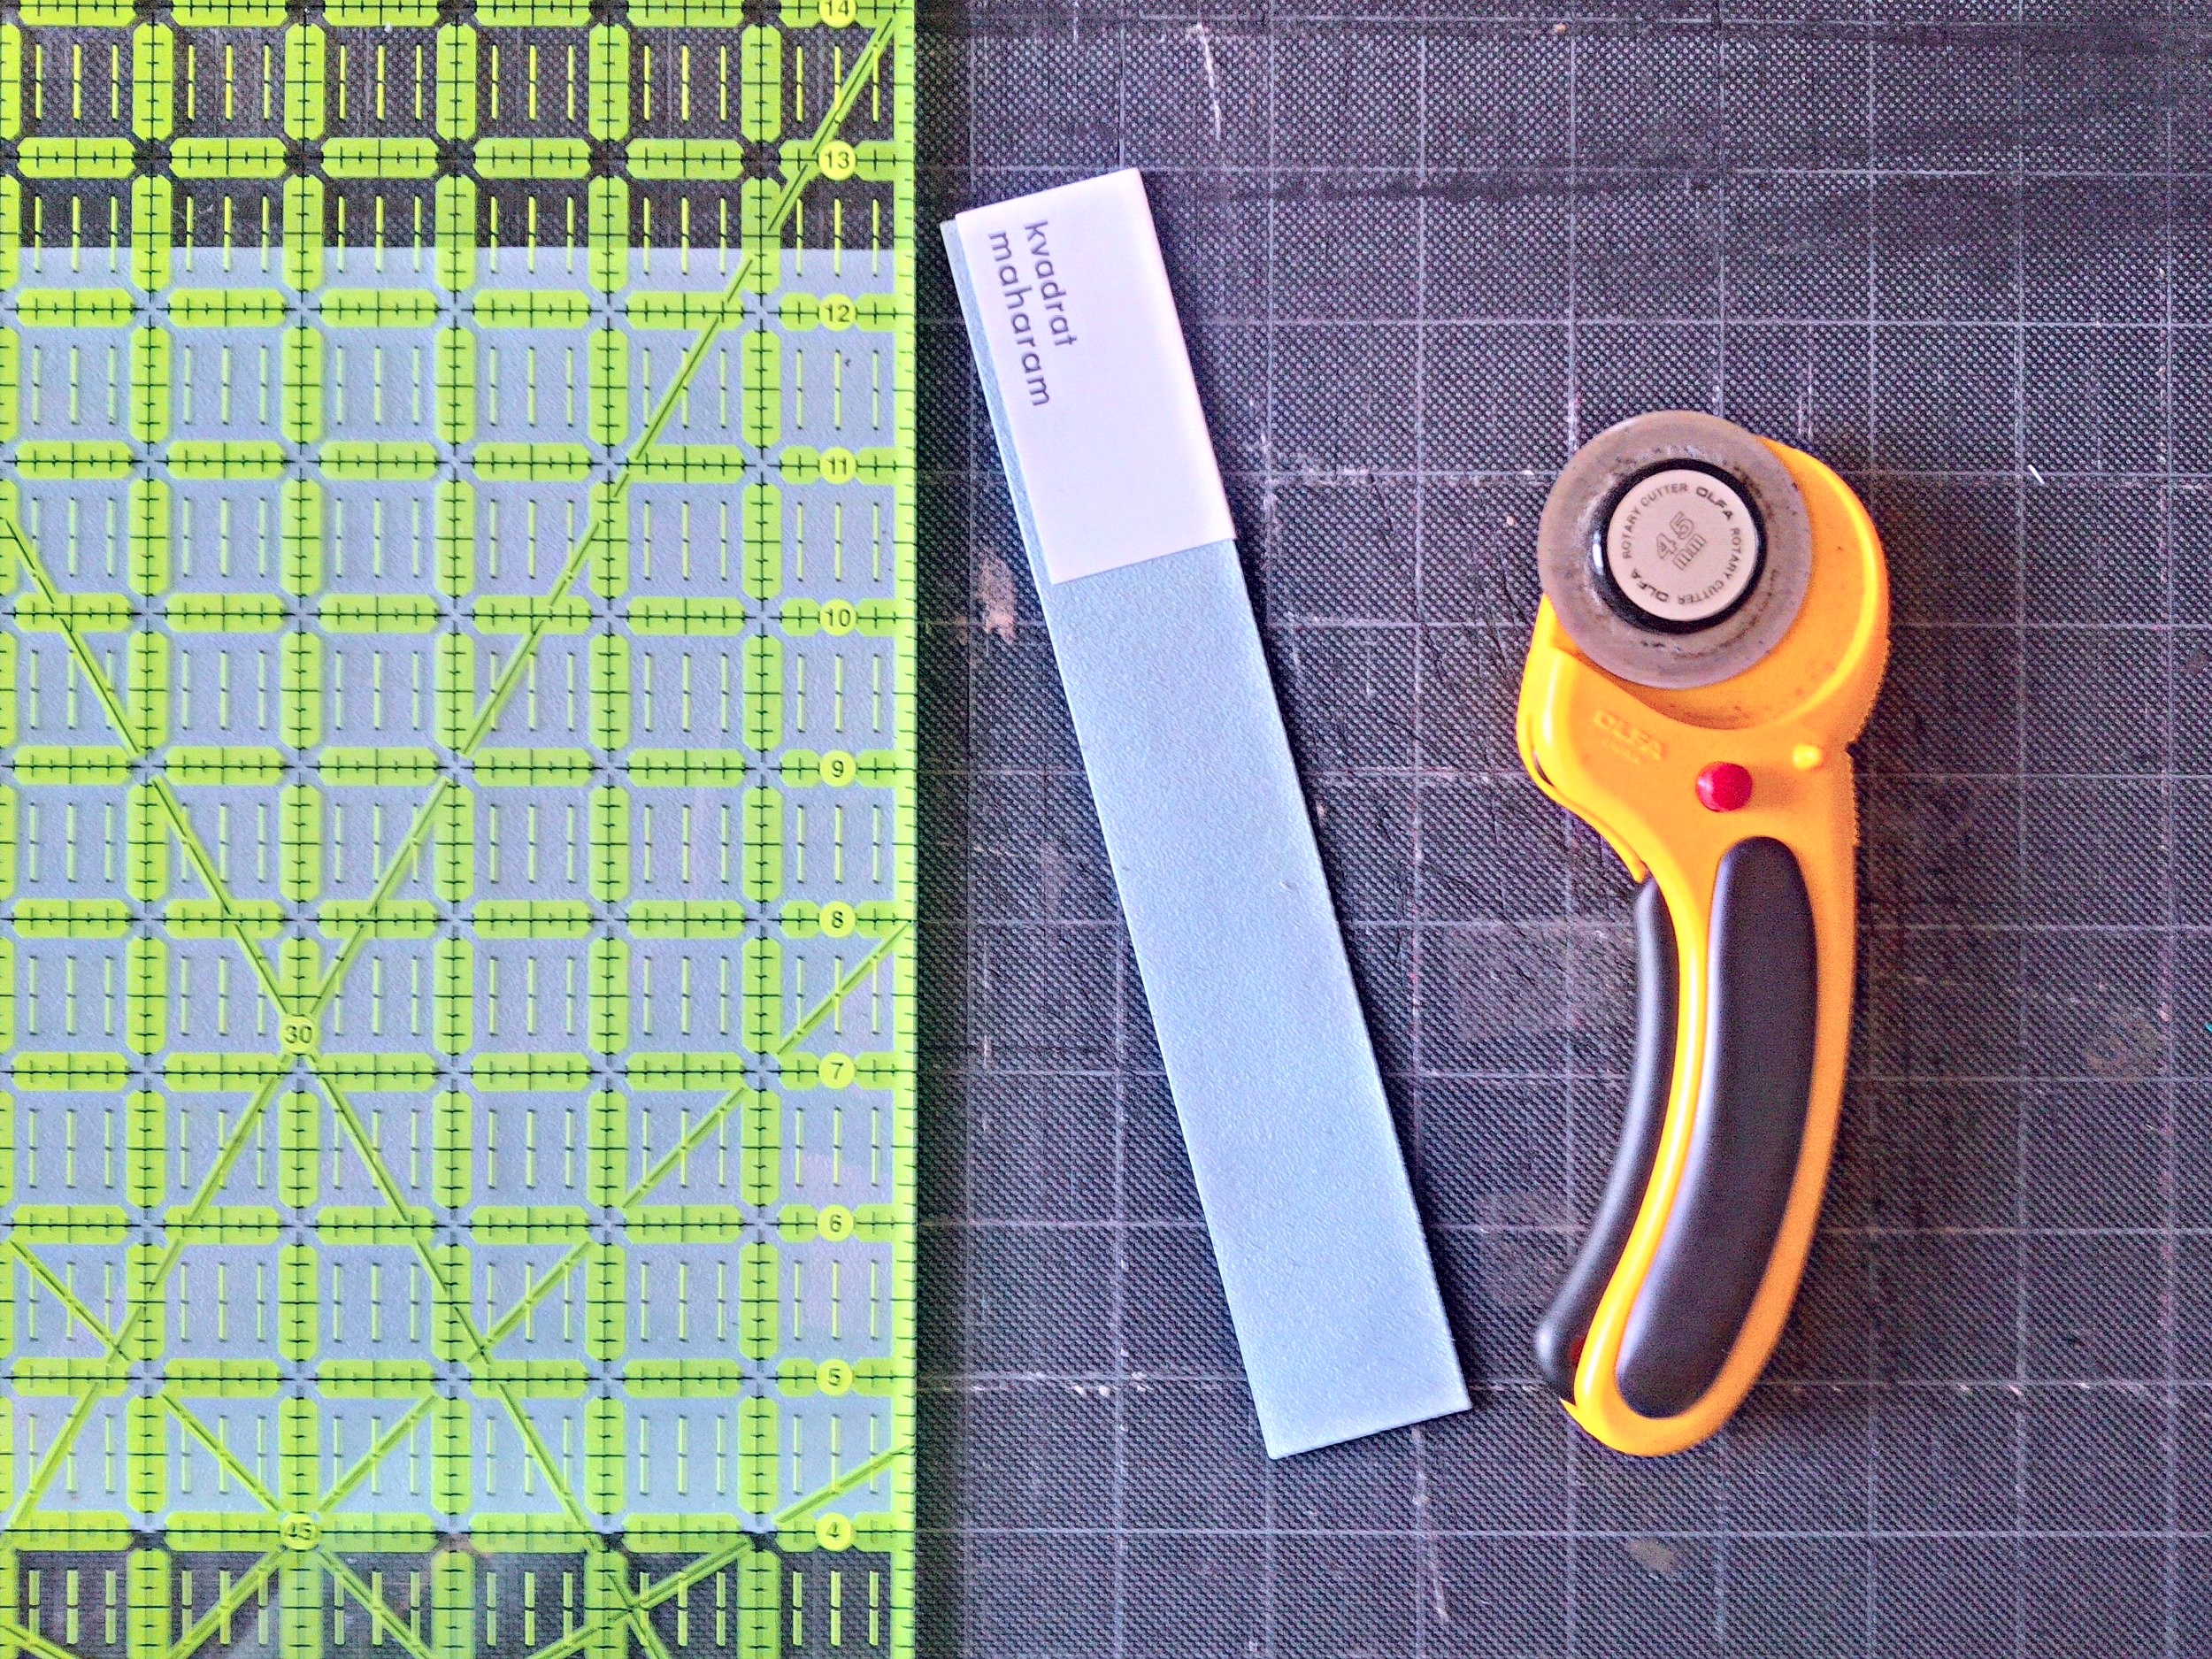
3. What a view!
I happen to own a lovely clear ruler which made selecting the desired 3" viewport very easy. You can do the same thing by cutting a 3" square hole into a piece of paper and then using the viewport to pencil in your selection.
Using an x-acto blade or scissors, cut photo as desired. I printed multiples since I knew we would overlap viewports a bit.


4. #modpodge
Using mod podge (or your favorite glue), coat cork 3" square and place cut image over. Press down to remove any bumps or bubbles, and pay extra attention to edges. Coat glued image with 1 layer of mod podge to seal in. For extra shine you may want to add multiple coats. Let dry for 20-30 minutes prior to adding flair.


5. Personalize!
Now is the time to really express yourself through the medium of crafts! Go crazy! No matter what your vision, it is most likely represented in an aisle in Michaels, your local hardware store, and/or the best dollar store in the neighborhood. See below for inspiration and my interpretation of beach club friends!
Greg & I:
For Greg and I, I kept is somewhat simple with a touch of glam-which maybe represents us? Who cares, I love gold so it works for me! Using black craft paint and a brush I added a graphic outline to our figures. To give it a Mucha/Klimt vibe, gold craft paint was used on the background and a single googley eye was glued right between us. This makes me happy 😍


Matt & Carissa
When I think of Matt and Carissa I think of good times and party vibes. I also think of the awesome waste bin Carissa covered in glitter ribbon for our secret Santa. Most awesome gift indeed! For their magnet (and in an effort to hide Greg) I not only used black craft paint to outline (and add jazz to Matt's sunglasses) but also added the shiniest of ribbon. Pro tip which I learned from Snooki (she has a great YouTube channel and loves to craft-who knew), using a lighter lightly graze the cut edge of the ribbon to prevent fraying. Be super careful during this step 🔥🔥🚒🚒
For the finishing touches, I added the most party-tastic funfetti glitter filled elmer's glue I owned. That and a giant googley eye simply because of how fun it looked. Party on Matt and Carissa, party on!


Kent & Sasha
These two crazy kids are the coolest. Words that come to mind when I think of Kent and Sasha include vintage, rock and roll, chic, sweet, kind, and loving. This might not make much sense to you, but in my mind vintage inspired trim, dowels, metal embellishments, and glitter were the obvious choices.


Hal & Meghan
If it weren't for these two, beach club wouldn't exist. Yes, we would still have the awesome dinner club, but beach club specifically would be nonexistent. Neo hippies who love to make things, Hal and Meghan to me represent crafty modernism at its best. I added wooden dowels to represent Hal's love of woodworking and a chunky glitter (that I knew Meghan would like) to create the magnet most inspired by the beach. Was there a mishap with the glue exploding on the entire corner? Yes, however who can get mad at having to add MORE glitter?


6. Final steps
In the words of the Insane Clown Posse, "Fucking magnets, how do they work?" . Well, science can explain that for you. Go science!
I happened to buy magnets in a roll which could be cut to size. You can also try to find precut tabs to make life a little easier. Sometimes they will have a sticky film on the back, but either way I would still recommend adding a dab of tacky glue. Let the magnets/glue dry for a couple of hours prior to proudly adding to your refrigerator door (or favorite magnetized surface). Congratulations! You can now look at the lovely faces of your friends every day!
We hope you enjoy doing this craft as much as I did! And thanks to beach club for just being the best!