

Sometimes, or rather, most often times (for me anyway) what you plan on doing isn't what you actually end up doing. This seems to be a constant for the crafts I make with much love for the people that I love. For me, the main takeaway here is the love. So, even though I didn't make the Nyc subway inspired dish ware; and even though the alternate craft of these salt and pepper shakers do not look like the star dust/moon dust galaxy creations I was hoping for; they were made with much love for my older brother Steve.
Steve - May is food always be well seasoned, his home decor be the grooviest of galaxy themed, and his life be the joyest of the joyed (that last one is a little rough, but you get the sentiment)! See below for brief instructions followed by a photo essay of the process. Turns out the photos came out way cooler than the product 📸
p.s. My brother and I share the same initials (sp); which is what inspired the idea of salt and pepper shakers and the title of this post.
Supplies:
- Salt & Pepper shakers
- glass paint (I bought a set for 50% off at Michael's - there was a reason it was on sale)
- paint brushes
- a clean work space 🚀
Instructions:
1. Sterilize and/ or wash the shakers. Make sure they are completely dry prior to crafting
2. Using a brush, Paint 🎨 the shakers white and black, respectively, to set the mood. I used white pearl for the salt shaker and charcoal black for the pepper shaker.
3. To create the illusion of "galaxy clouds", take a glitter ✨ paint and with swirling motions brush clouds around shaker. I used hologram shimmer for this magical step.
4. Star dust and moon dust time! ⭐️ 🌙 using the point on the end of the brush, dip into paint and lightly tap against shaker. You can create different sized points depending on how hard you tap or how much paint you collect. For bothe the salt and the pepper I started with a white (cameo white) and accented with different colors. The options are limitless!
5. Let dry and wash again prior to use. Hope you enjoy! 😊 see below for some fun photos of a wonderful and relaxing Sunday morning craft.

Getting ready to craft! Shakers and glass paint set from Michael's

Cleaned and ready to go

White pearl base for salt shaker
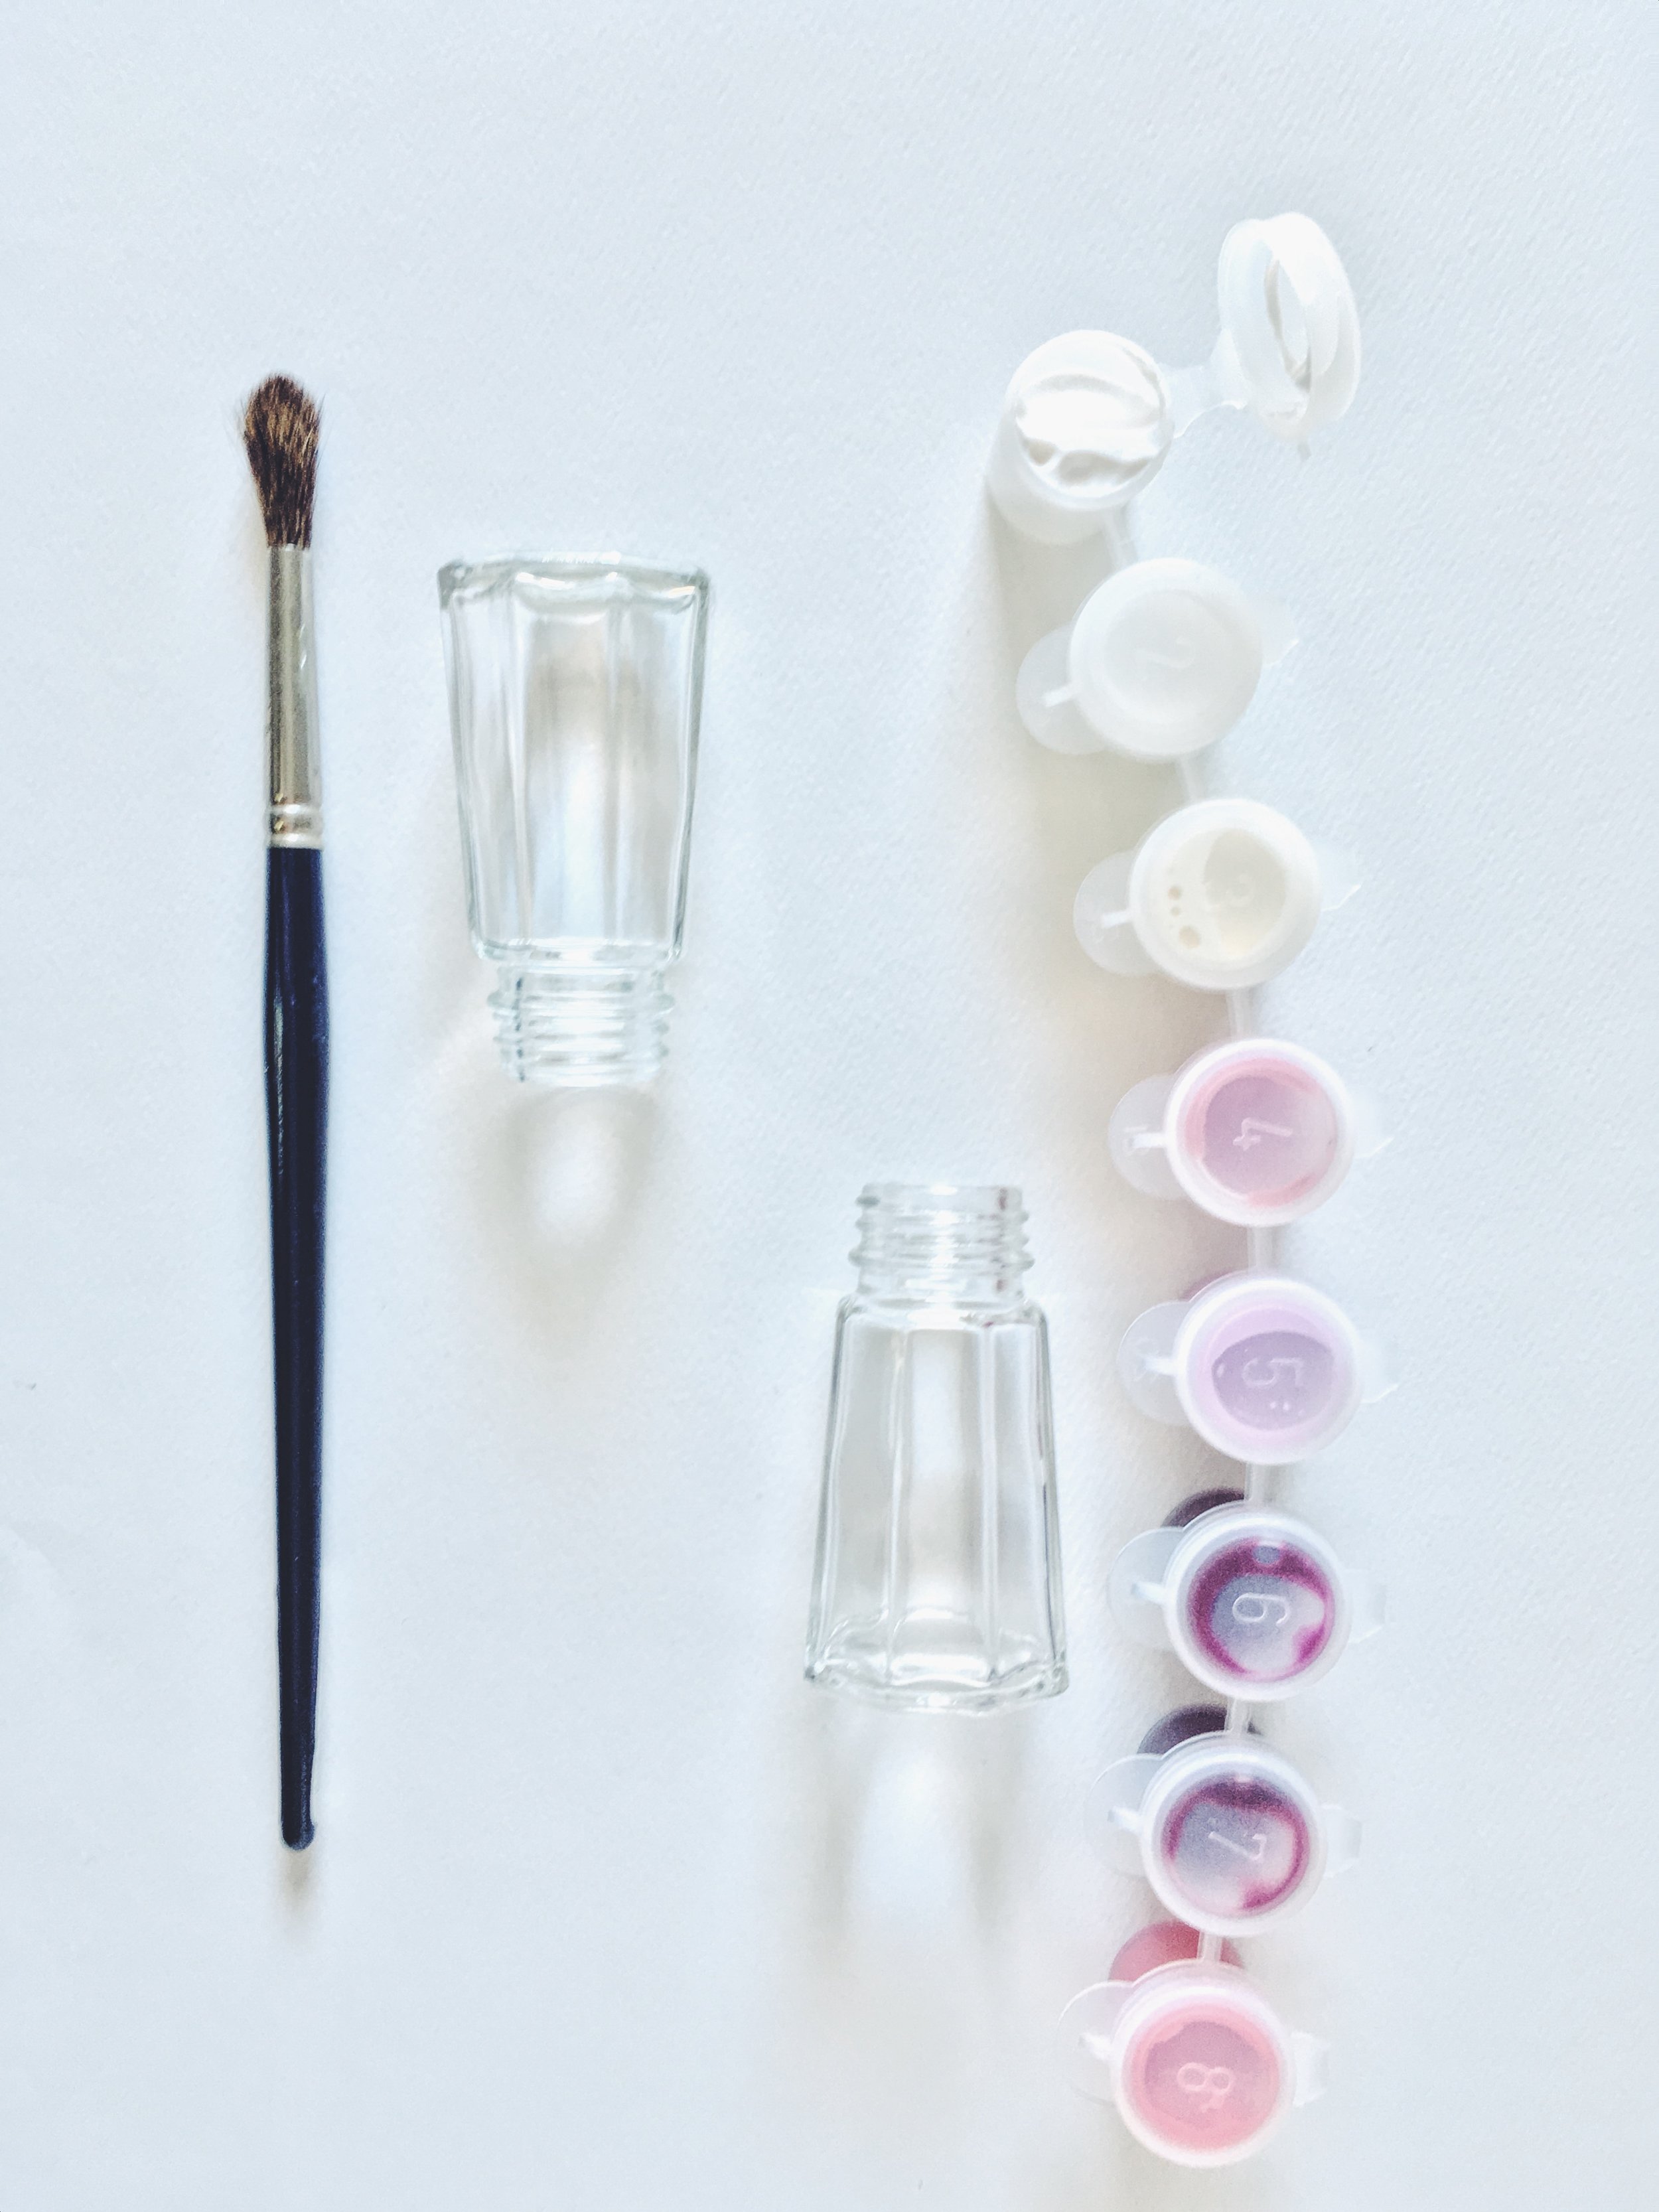
I really loved how the paints were packaged for the set. Great color story!

Trying to be neat for the first step. Somehow that never works out for me

Progress shot. Made a few extra, because why not!

If only I had focused more on the actual craft than the photos?

Charcoal black for the pepper shakers

These pods were just so inspiring

so lush

s+p shakers covered in light layers of black and white paint. It is a subtle difference, but I like it

skipping over the glitter clouds and going right into the dust dots

but first, and image of the drying glitter clouds up close

first layer of galaxy dust 🌌

added red and lilac to salt shaker

Catching the sunlight

Some navy and aqua for pepper shakers

S+p party

Dry time

valley of the s+p shakers, orbiting around each other
and lined up again

filled and ready to rocket

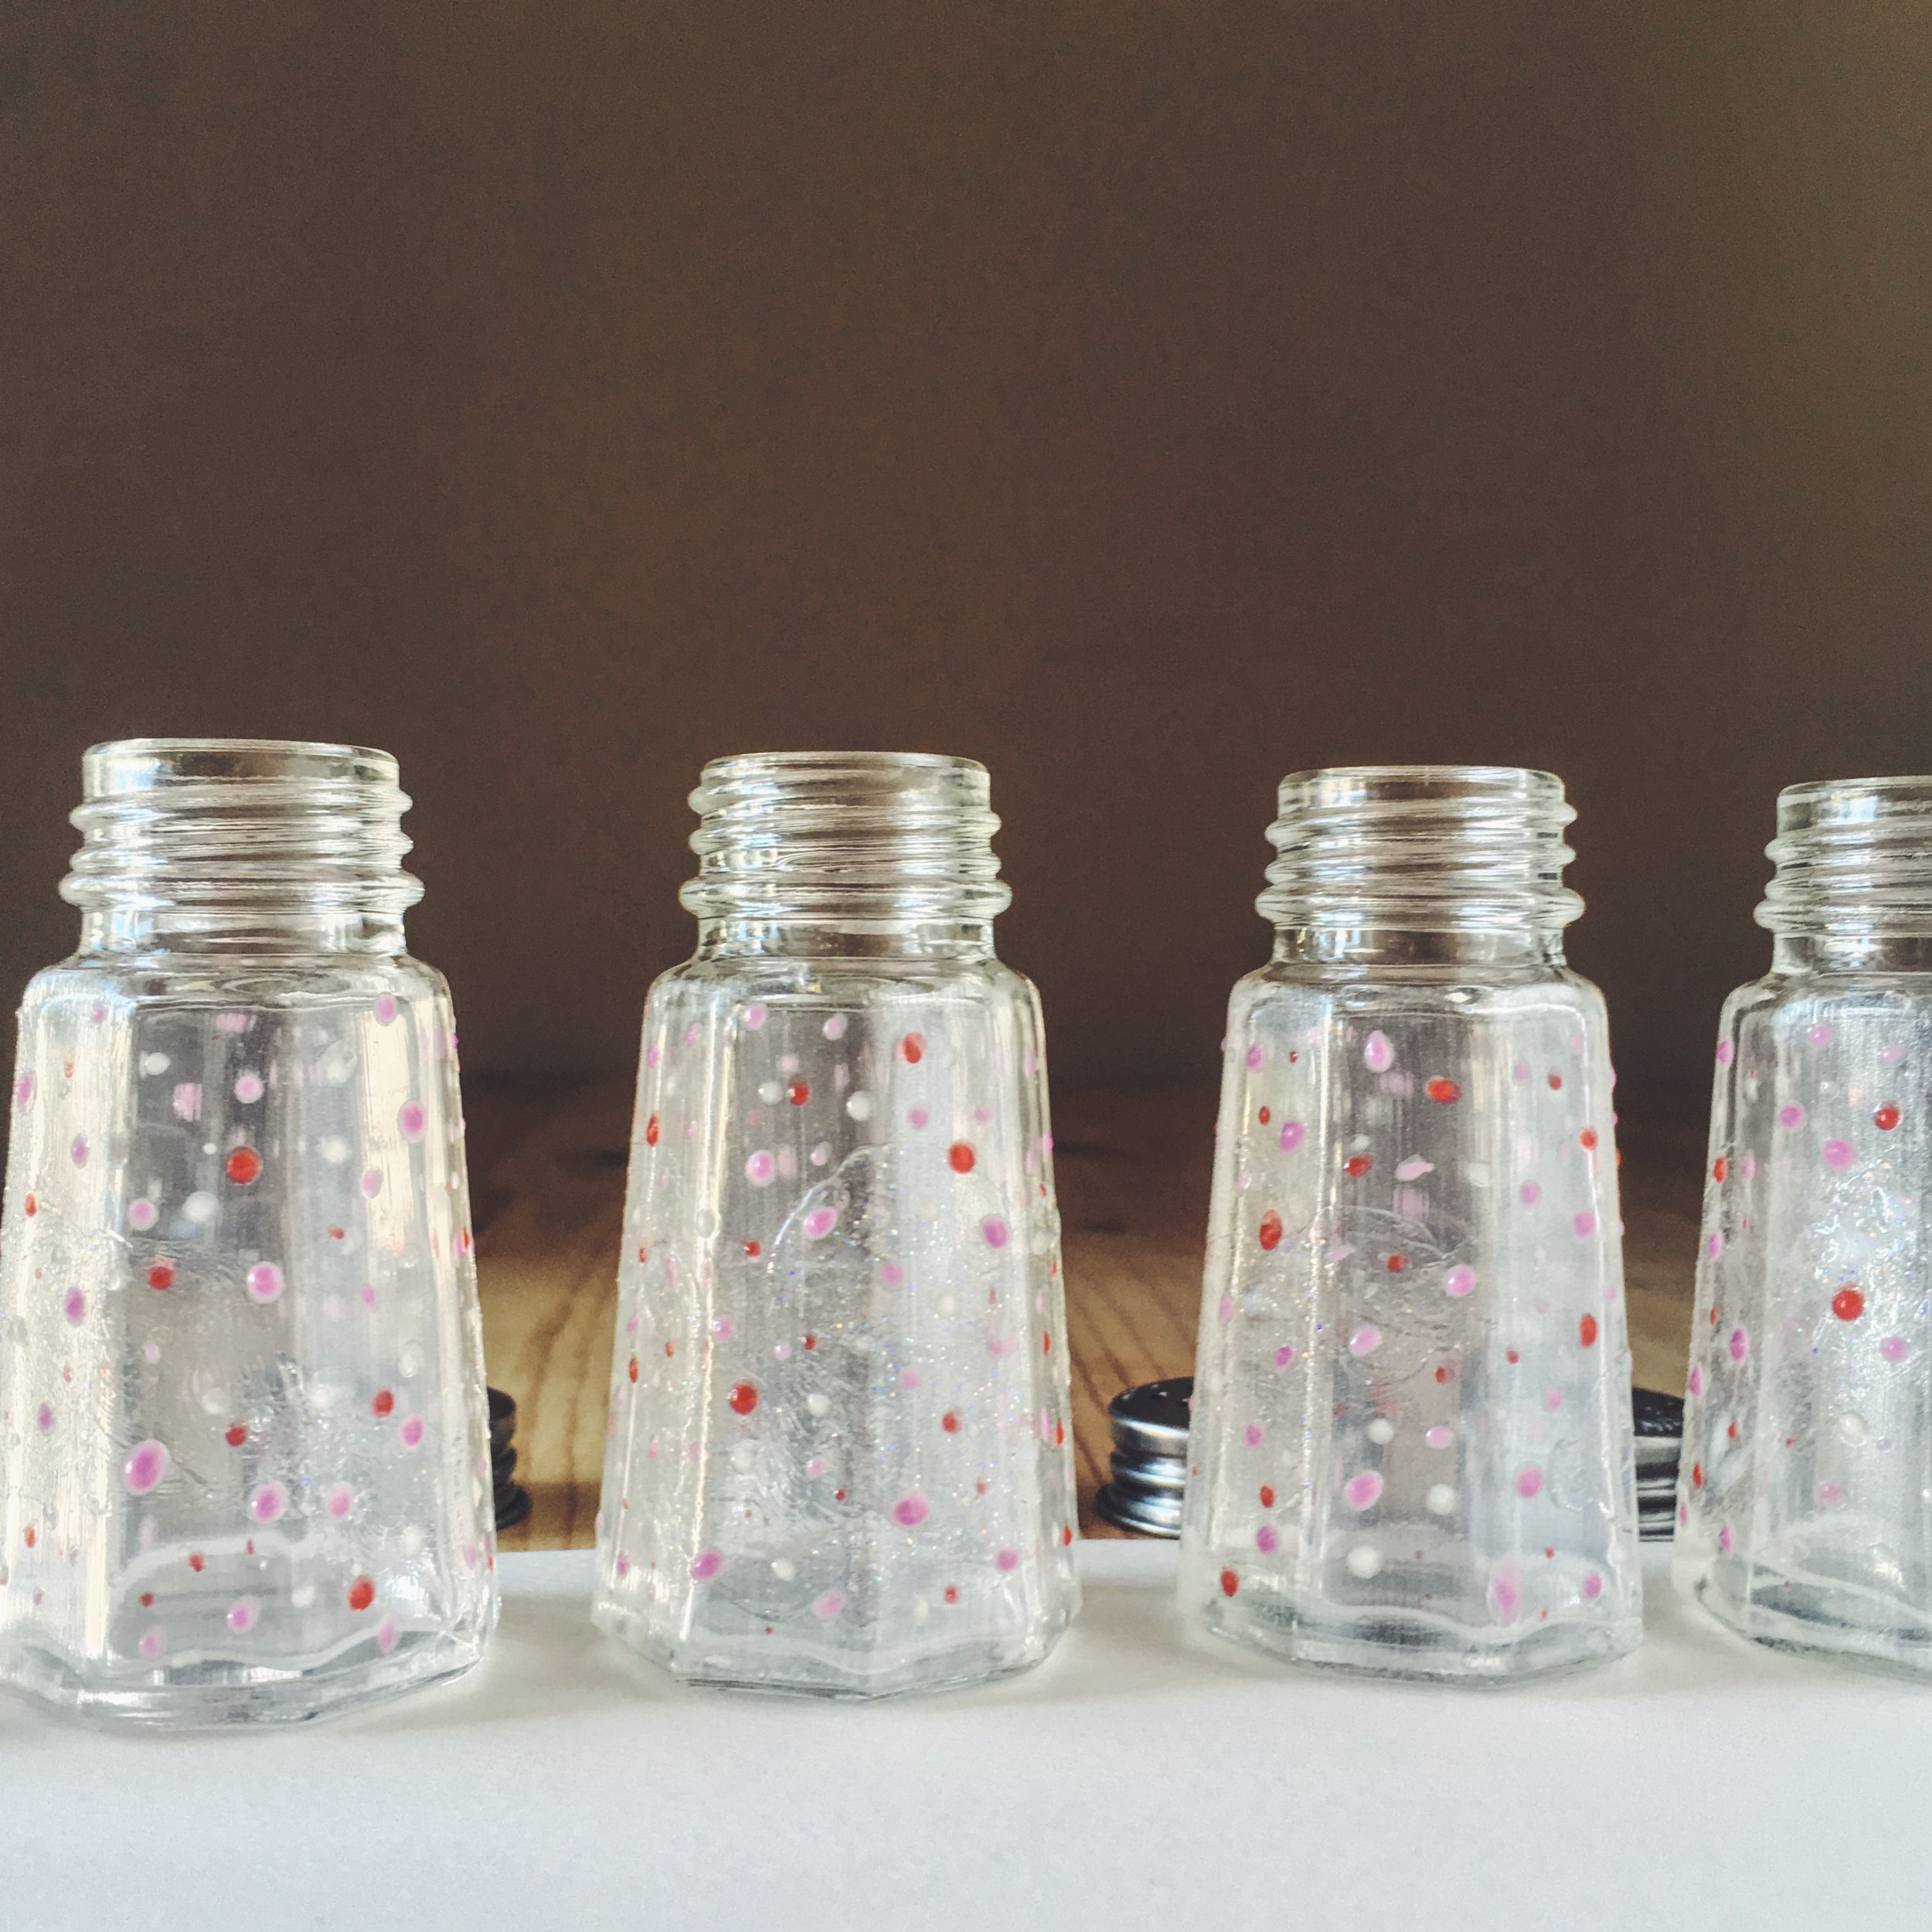
final product


